
How to Can Corn and Keep That Fresh Yellow Color

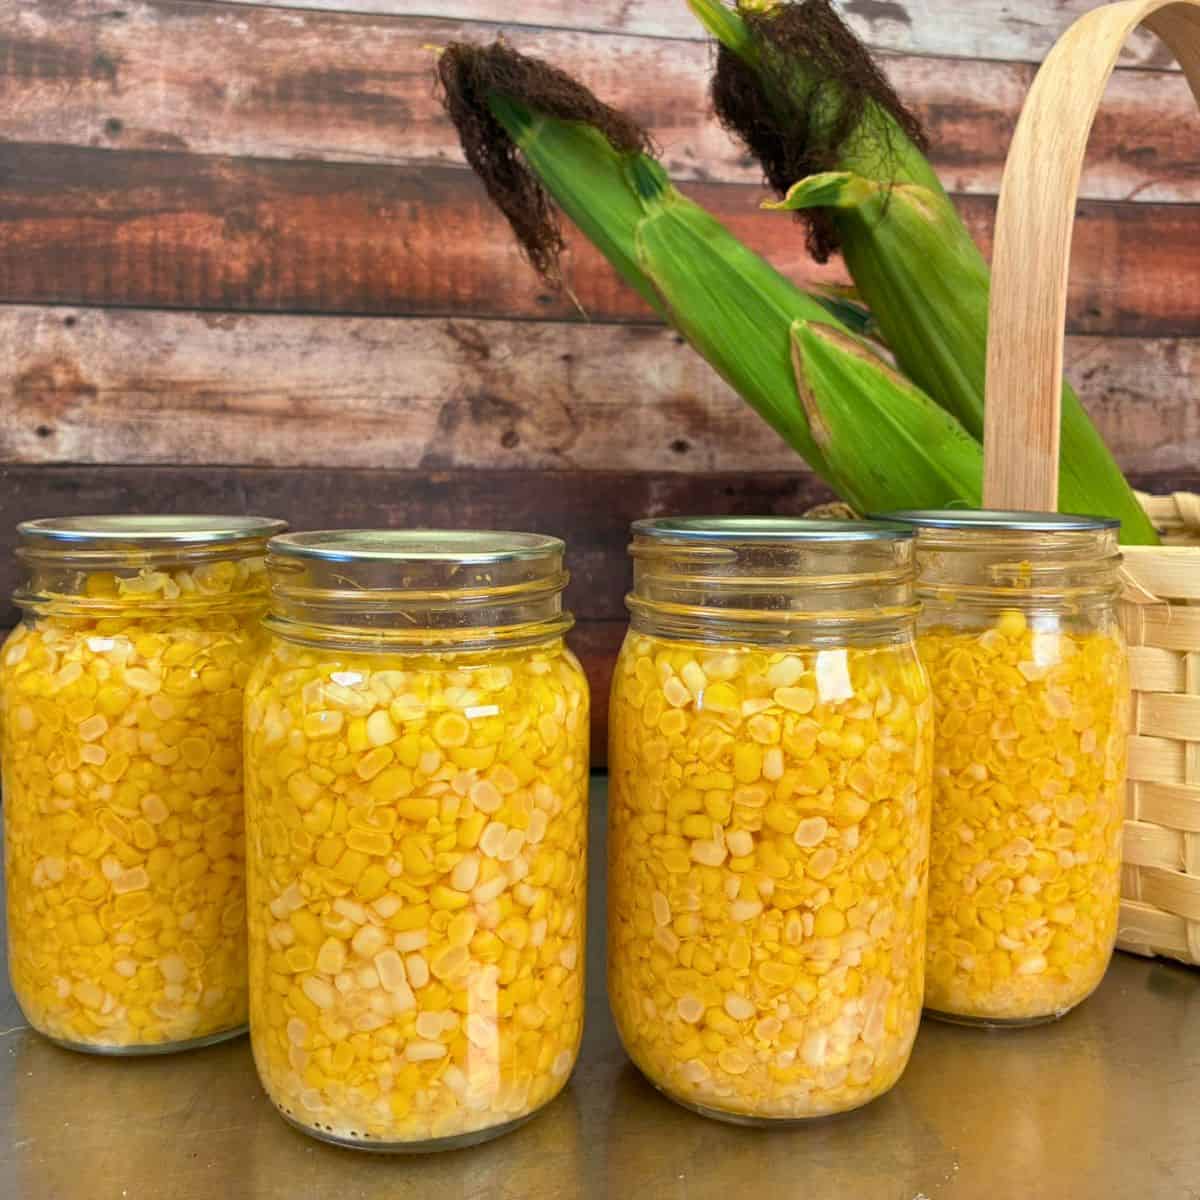
Years ago, when Philip and I planted our first garden together, he grew a beautiful crop of fresh sweet corn. We were thrilled with the harvest and eagerly worked together to preserve the bounty. Having never used a pressure canner, I nervously sat in the kitchen watching the pressure carefully. When it was finally time to remove the cover, I was disappointed to see our beautiful yellow corn had turned an ugly brown color!
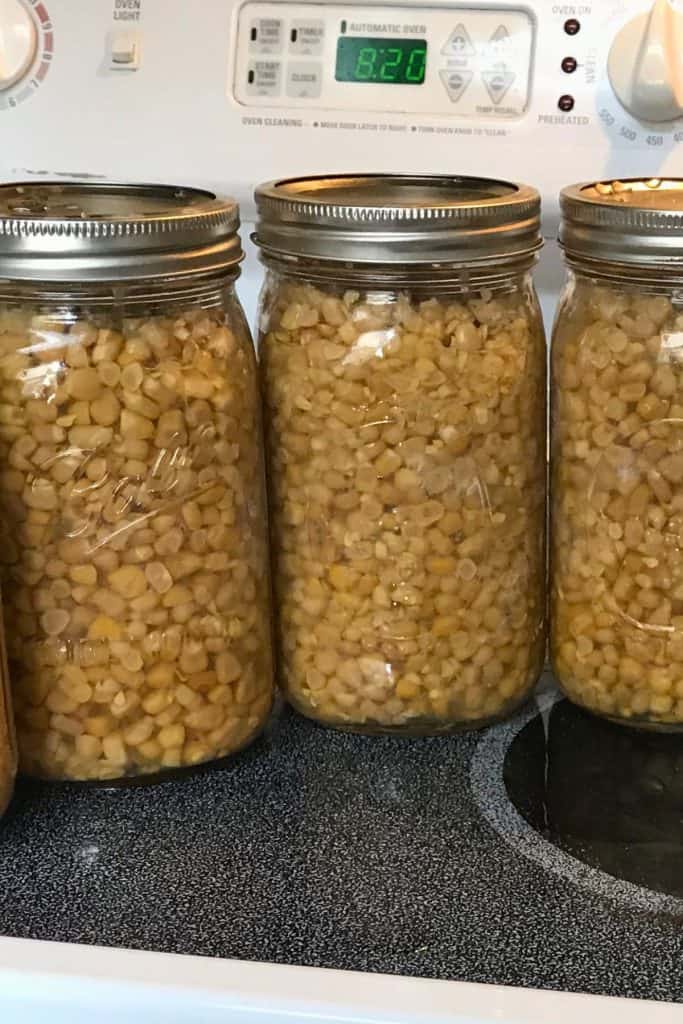
For years, I refused to can whole kernel corn, always freezing the harvest. But this year, I have limited freezer space and 5 bushels of corn to preserve. Philip encouraged me to reach out to my Amish neighbor for help.
Honestly, I was a little hesitant. It’s well known that many Amish canning techniques are decades old practices that don’t align with modern-day safety practices. Still, I needed to know her secret to gorgeous yellow canned corn lining her pantry shelves.
SUMMARIZE & SAVE THIS CONTENT ON
Why Does Canned Corn Turn Brown?
Corn turns brown during the canning process for a couple of reasons. The variety of corn you choose, in addition to the natural chemical reaction that occurs in corn during heating, can cause the corn to turn brown during pressure canning. Choosing less sweet varieties can make a difference. Heirloom varieties have a rich corn flavor without the excessive sweetness of modern super-sweet hybrid varieties.
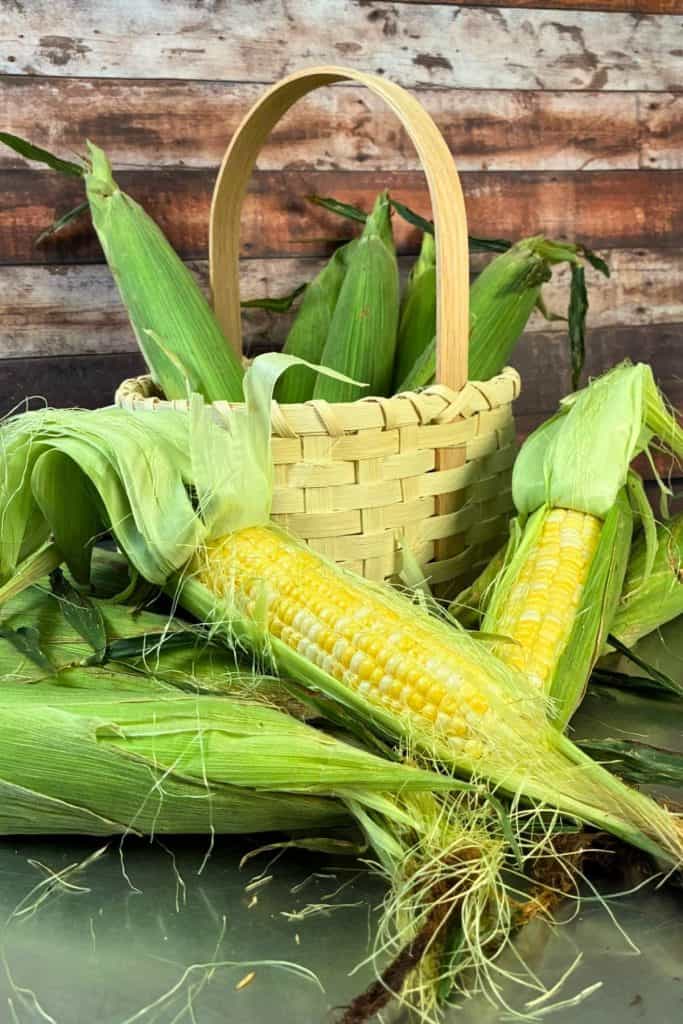
Corn is a low-acid food that requires pressure canning. It has a long cook time, no matter your altitude. If you are using a dial gauge pressure canner, it can be difficult to maintain the correct pressure for long time periods. Canning corn at excessive pressure can contribute to the corn browning.
The National Center for Food Preservation recommends canning a small amount to check color and flavor before processing large batches.
Grandma’s Canning Acid: My Amish Neighbor’s Method
When my neighbor told me her secret, I was surprised; it wasn’t any of the things I expected. It was a tiny packet of Grandma’s Canning Acid. The packet lists salicylic acid and sodium sulfite as the ingredients. Both substances have documented uses in food-related applications, though they serve different purposes.
Caution!
Sulfites can cause adverse reactions in people who are sensitive to sulfites. Some reactions can be severe, including asthmatic reactions. Please research carefully before using if you have food sensitivities.
Salicylic acid has been studied in post-harvest preservation of fruits and vegetables to maintain quality and extend storage life of food by delaying fruit ripening, preventing decay, and preserving some quality characteristics.
Sodium sulfite is used as an antioxidant, color adjunct, and oxidizing-reducing agent. It has been used in food preservation to help prevent food discoloration. However, due to potential severe reactions in some people, Penn State Extension notes that sulfites are not permitted in fresh fruits and vegetables intended to be sold or consumed raw.
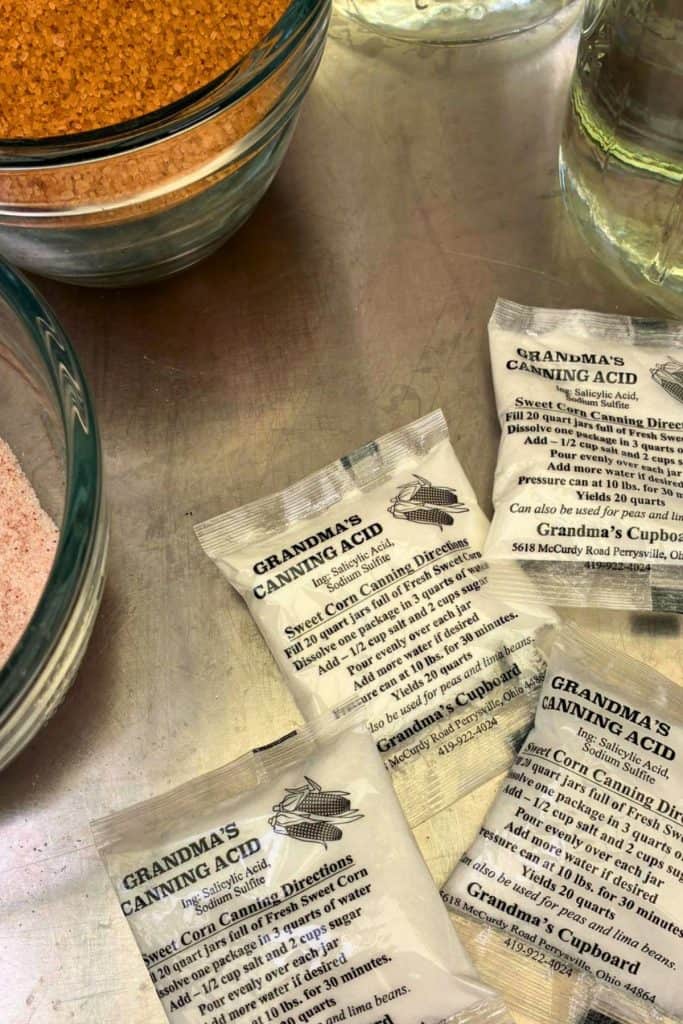
Grandma’s Canning Acid
Where to find it? I have only found it at two sources.
Simple Instructions
The instructions to use Grandma’s Canning Acid are simple: dissolve the packet in warm water, add sugar and salt, and pressure can. One package yields 20 quarts of corn. The label of Grandma’s Canning Acid states to maintain pressure for only 30 minutes. This is where I became cautious; I am not a rebel canner. My Amish neighbor believes in this method so much that she was willing to dump out last year’s corn harvest because she couldn’t bring herself to eat the brown corn she preserved without it! It’s a lot of work to grow, harvest, and preserve corn, but she wanted to dump it! That says a lot to me.
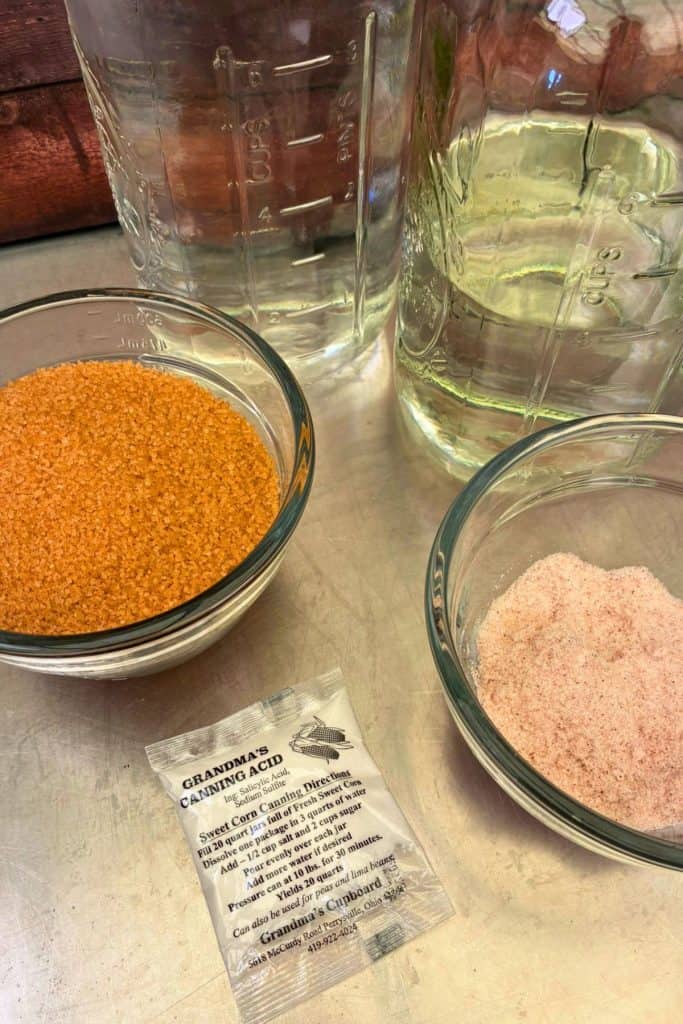
Cautiously, I proceeded. My nose tickled a bit when I added Grandma’s Canning Acid to my solution. I followed the directions as stated on the packet. My first batch of corn was absolutely gorgeous!
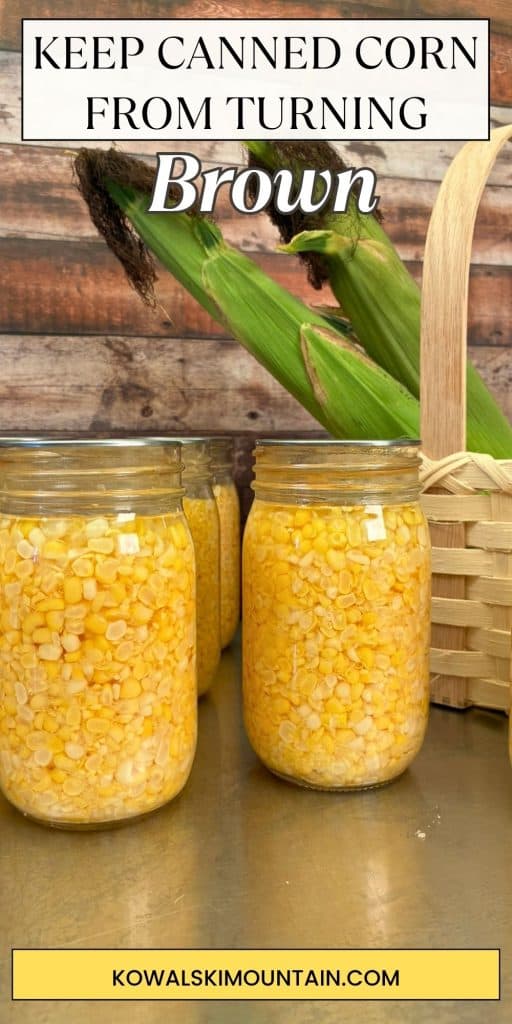
I didn’t stop there; what if I canned it for the full recommended time by the USDA? And so I did! Just a small canner full, so if it turned a terrible brown, I wouldn’t be out much. I was thrilled that the whole-kernel corn canned for the full USDA-recommended time remained a beautiful yellow! In fact, you can’t tell the difference between the two jars…. that sold me! By following the full processing time recommended by the National Center for Home Food Preservation, I can rest easy knowing that I am following the tested processing guidance for whole kernel corn.
Find this post helpful?
Share it on Pinterest
Do Food Additives Belong in Home-Canned Food?
This is a very personal question! I don’t know about you, but one of the reasons I preserve and cook food from scratch is because I’m concerned about what is being put into processed foods. Likely you already use some additives in your food preservation process; some are so common we don’t question them. This is possibly different or new.
For me, this is the difference between canning corn and not. I don’t like ugly, gross brown corn. It tastes “canned”; it looks terrible and seems like a huge waste of time and effort to preserve something you don’t like. While my nose tickled when working with Grandma’s Canning Acid, I don’t have a known sulfite sensitivity, so I felt comfortable trying this for myself. Even better, the corn tastes great! Firm texture, beautiful color; it doesn’t have that distinctive “canned corn taste” (you know if you know!)
My biggest concern was the reduced processing time indicated on the manufacturer’s instructions. I tested this method using the full recommended time by the National Center for Food Preservation. I determined it made no difference in the color results. I’m thrilled with beautiful jars of yellow corn that have been processed for the full recommended time.
While I am very selective about the food additives I use in home-preserved foods, I’m very happy with the results of my whole-kernel corn canned with Grandma’s Canning Acid.
With any food additives that you consider, do your research!
Here are some sources worth investigating.
Sulfites in Food What You Need to Know
Find More Info on
Food Preservation
How to Can Sweet Corn
For best results, preserve your corn as soon as possible! Within hours of harvest is best! For those of us who grow our own corn, that’s workable. But if you buy fresh corn, you have no idea how old it is. Knowing your farmer makes a difference! Ask when you can; many already sell it as fresh as possible, and others will be happy to accommodate your request.
When planning your supplies, keep in mind a bushel of corn weighs about 35 pounds and yields 6 to 11 quarts of corn, averaging 4 1/2 pounds per quart. A canner load is about 31 1/2 pounds of corn, which leaves a few ears for fresh eating in addition to a canner full of preserved corn.
In our family, I preserve corn in pint jars. A quart of corn is way too much for just the two of us without having to eat corn all week! This year I canned 5 bushels of corn, which produced 67 pints of corn. That’s right at the average amount, just under 14 pints per bushel or 7 quarts.
Prepare Your Corn
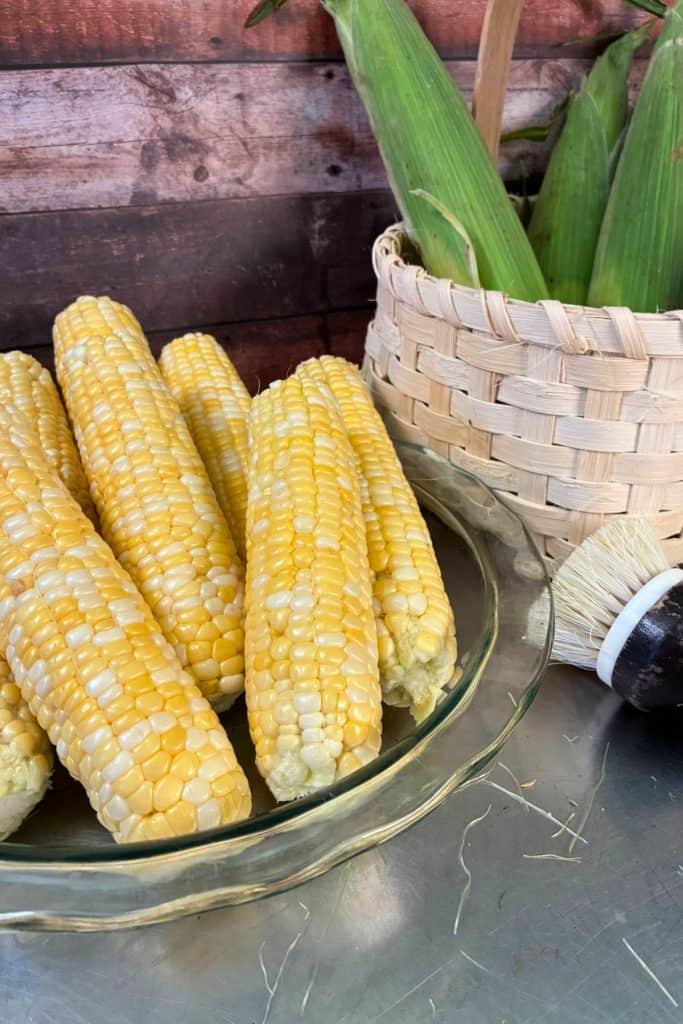
Start by husking your corn, removing the silk, and washing the corn. Start boiling the water used to blanch the corn as soon as you can; a large pot takes a while to come to a full rolling boil. Since corn floats, I like a pot that is wider with more surface area rather than deep; however, the water will evaporate as you blanch. Make sure you have sufficient depth to allow for more water than you need.
Prepare to Blanch
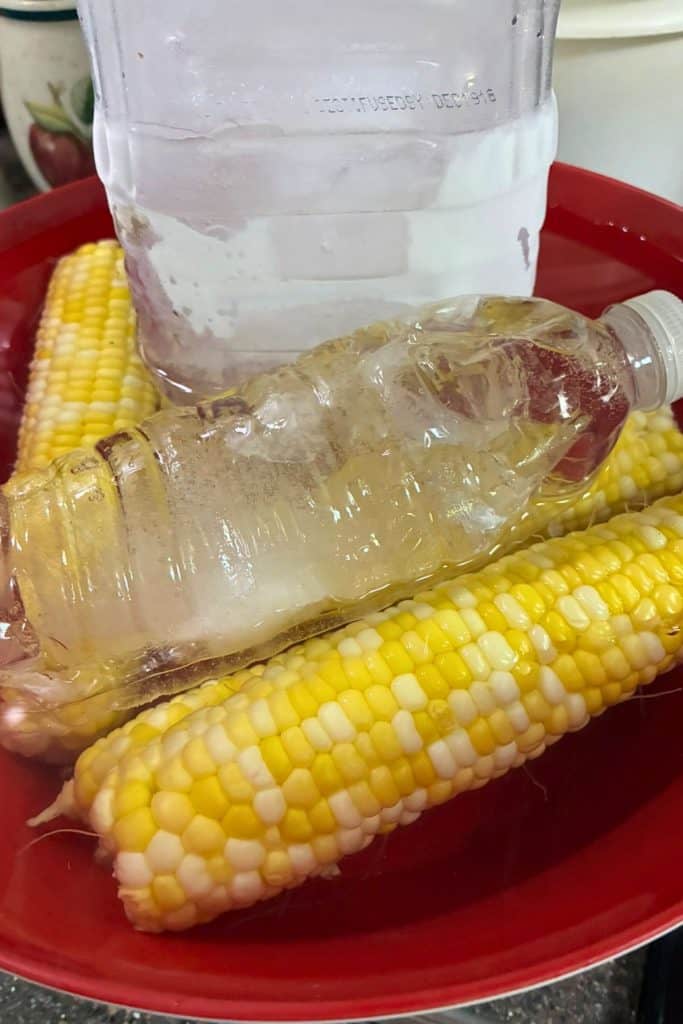
Blanching is important because it helps slow enzyme activity that causes changes in color, flavor, and texture during storage. To blanch the corn, cook it in boiling water for just 3 minutes, then quickly cool it to stop the cooking process. In addition to a large pot for blanching, you also need a large bowl for an ice bath. I like to use frozen water bottles in my ice bath because they are easy to reuse. In addition to regular 8-ounce water bottles, 64-ounce juice bottles work well because it’s a large block of ice in the ice bath.
Depending on how much corn you are processing, you will need multiple bottles to keep the water cold (honestly, I never have enough). I recommend starting with at least two 64-ounce bottles and 8 to 10 small bottles for large batches. This allows you to keep extra in the freezer until you need it.
To prepare your ice bath, put just one 64-ounce bottle of ice in the water bath bowl. Go ahead and add ice cubes to the bowl to help get the water good and cold. I add the smaller bottles on top of the corn to push them down into the water. Plus it helps compensate for the hot corn warming the water. As soon as a bottle melts, switch it out.
Step-by-Step Corn Blanching
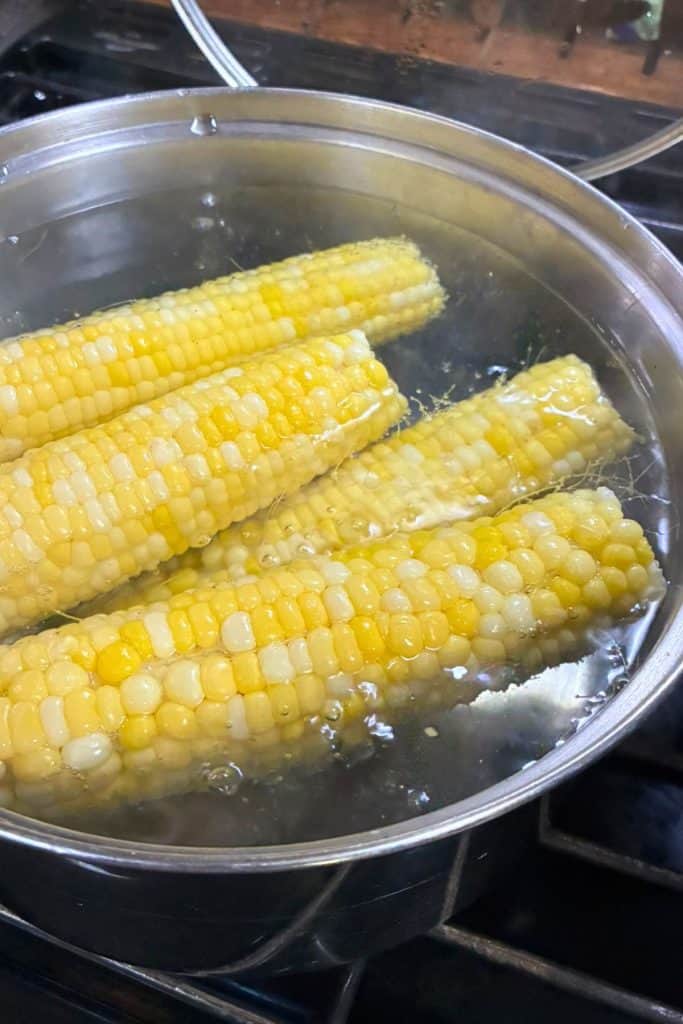
Once the water is boiling, add corn. Begin timing as soon as you put the corn in the water; it doesn’t need to return to a boil. Simmer the corn for 3 minutes.
When the 3-minute timer rings, remove the corn and place it in the ice bath. Add ice bottles to the top to help push the corn down and cool from all sides.
 Blanch corn in boiling water for 3 minutes.
- Cool corn in an ice bath.
Cover the hot blanching water and allow it to return to a boil. Once it boils, you can add a new batch of corn.
When the corn is sufficiently cool, remove to a colander and begin cutting the corn kernels off the cob. Cut the corn at about 3/4 the depth of the kernel, trying to avoid cutting into the cob. For whole kernel corn, don’t scrape the husk. For years, I used a knife for this process, but recently invested in a corn stripper. It makes such a huge difference! A corn stripper has a slight round shape to match the shape of the cob. Depending on the design, it helps prevent cutting into the husk and also cuts the corn at the perfect depth.
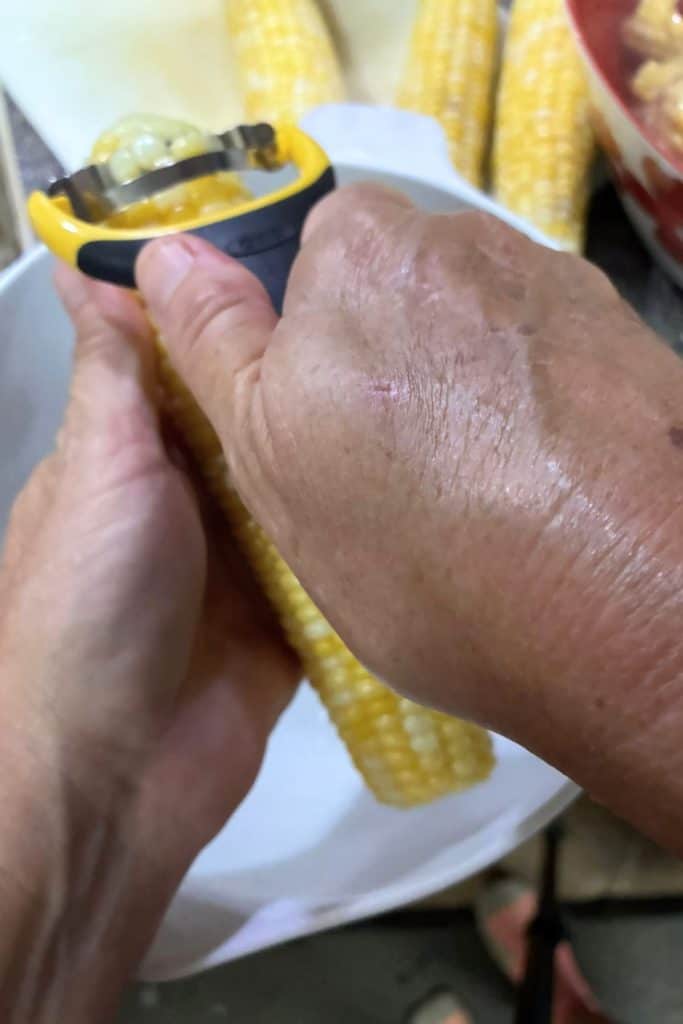
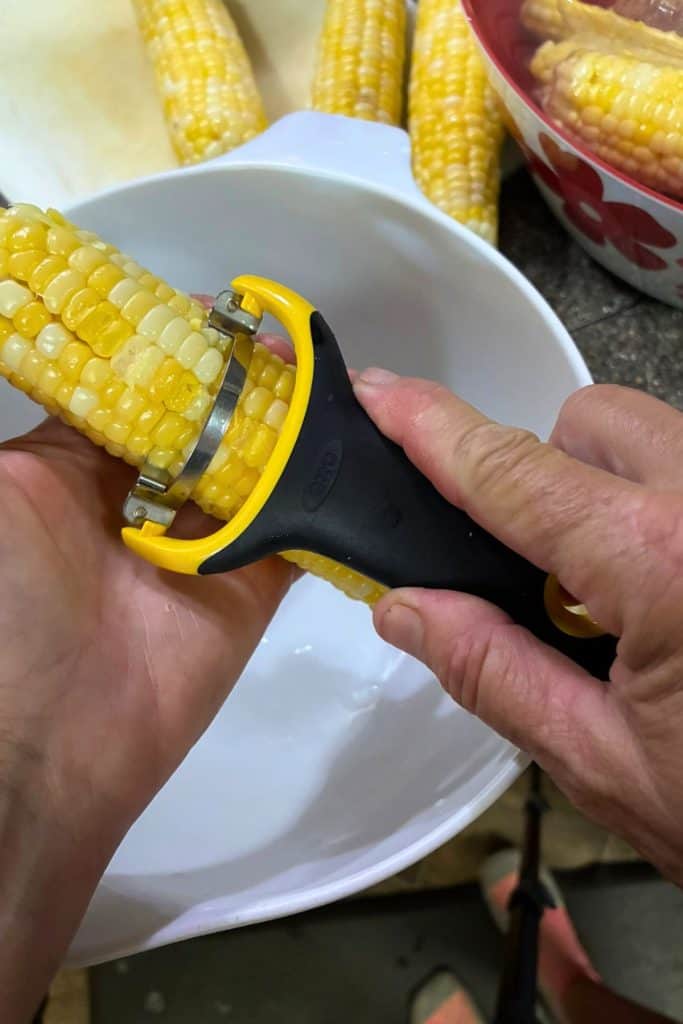
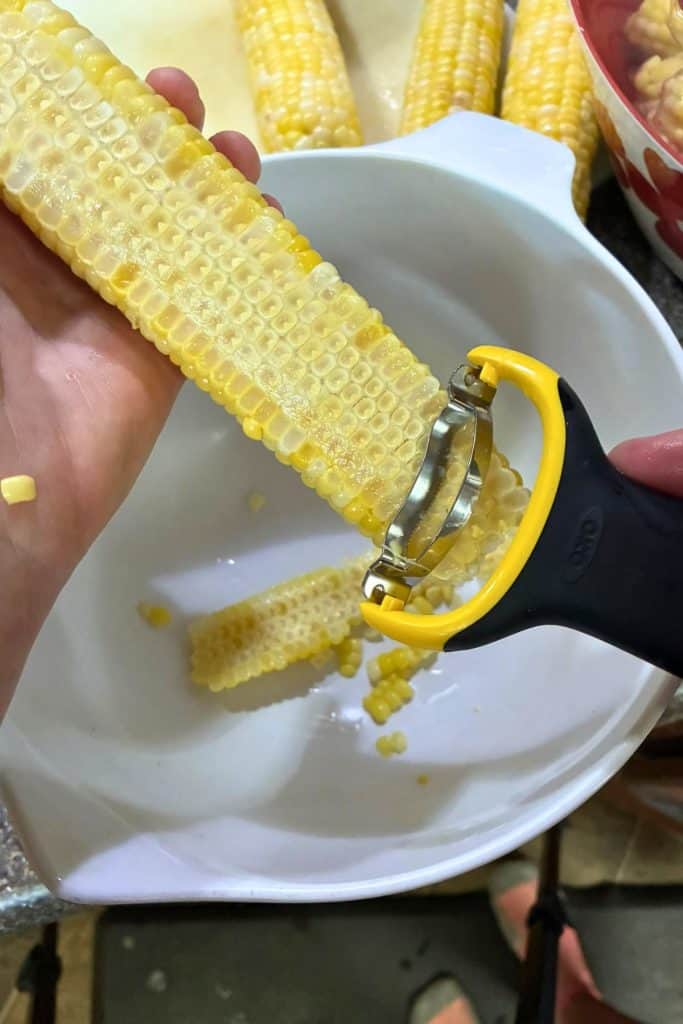
Once you get started, you will get a good rhythm. I only put 4 ears in the boiling water at a time. That’s easy for me to handle on my own, and I can keep up with the boiling, cooling, and cutting process without overwhelming any one station. If you have a team, you can work much faster.
Two Canning Methods
When canning corn, there are two methods: raw pack and hot pack. Personally, I prefer the raw pack method. I find it easier, with no estimating the amount of corn you have or extra work to cook the corn before canning. No preheating the jars. This recipe card in this post will have instructions for the raw pack method only. The National Center for Home Preservation has free canning recipes on the hot pack method.
Prepare Jars for Raw Packed Whole Kernel Corn
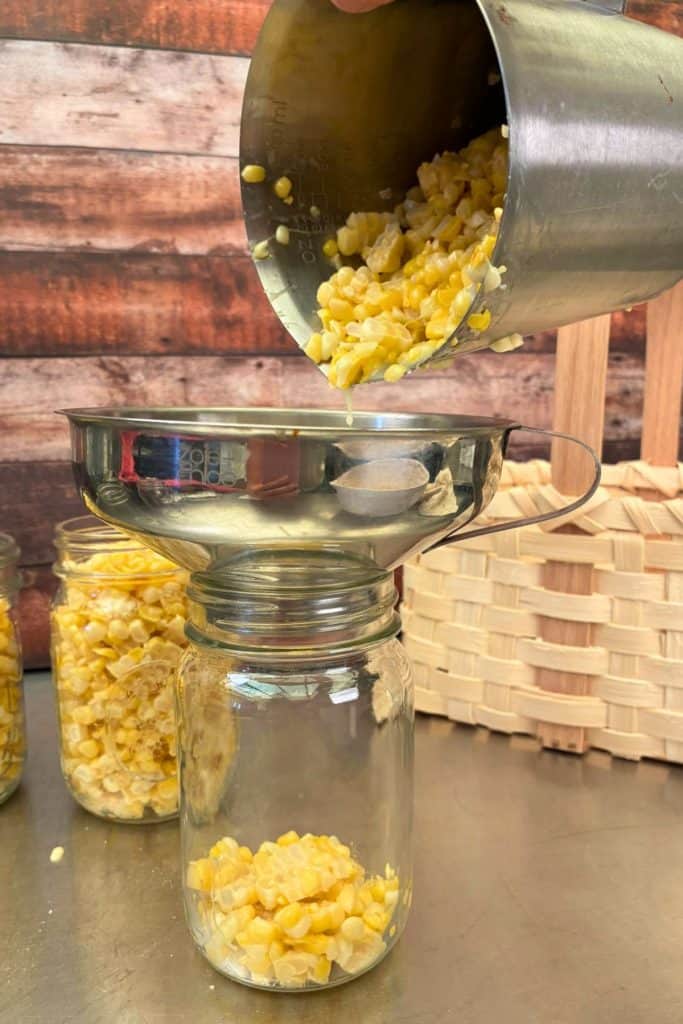
Use a canning funnel and fill the canning jars with corn, leaving 1 inch of headspace. Don’t shake or pack corn in the jar; unlike some foods, corn expands as it heats.
Prepare Grandma’s Canning Acid
Use caution if you have sulfite sensitivities; which can cause asthmatic reactions; see warning above.
Dissolve one packet of Grandma’s Canning Acid into 3 quarts of water. Add 1/2 cup canning salt and 2 cups of sugar. Stir well until dissolved. Please note: one package is enough for 20 quarts of canned corn.
- Grandma’s Canning Solution evenly divided among jars.
- Fill jars with water, leaving 1″ of headspace.
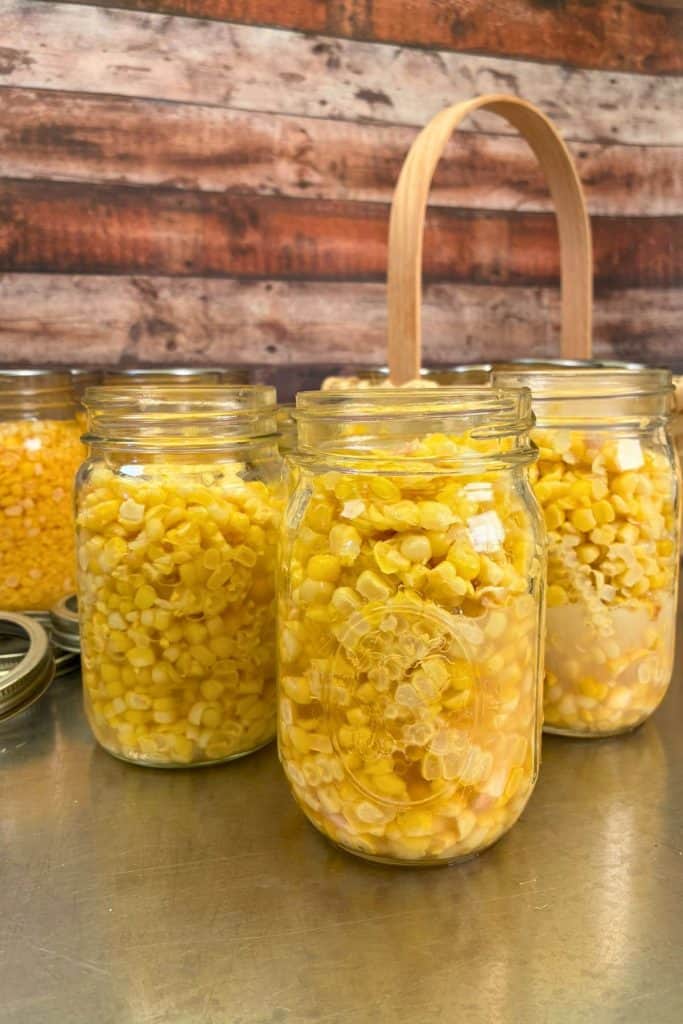
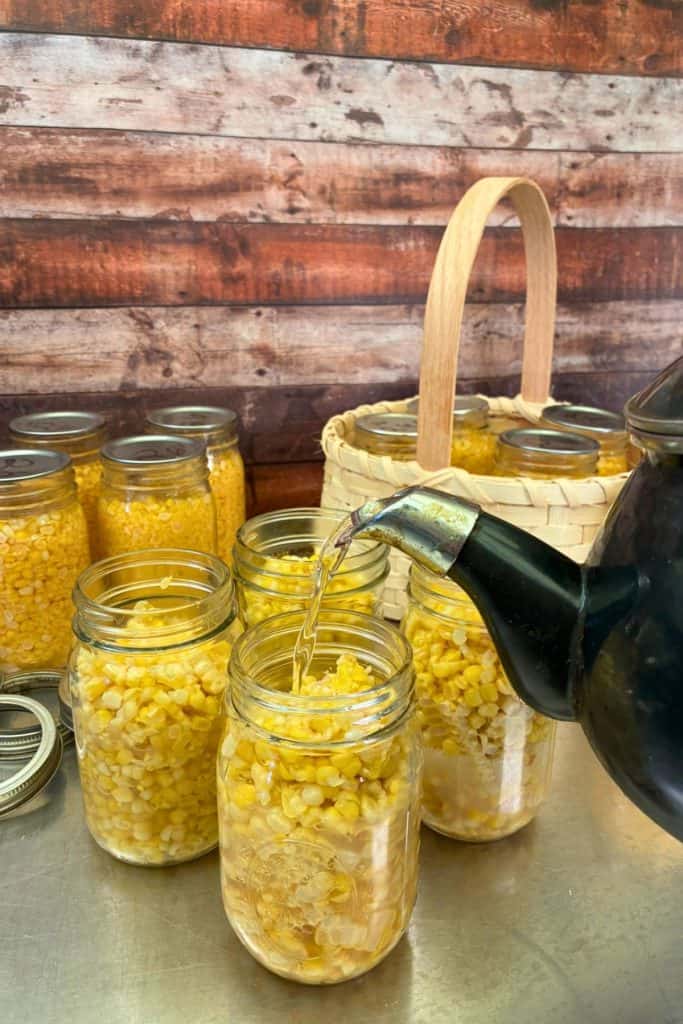
Pour the mixture evenly among the jars. I used pint jars, so I added just under 1/3 cup per jar. If using quart jars, each jar will get a little more than half a cup. Once the solution is evenly divided, fill the jars with warm water, leaving 1-inch headspace.
Finish Prep
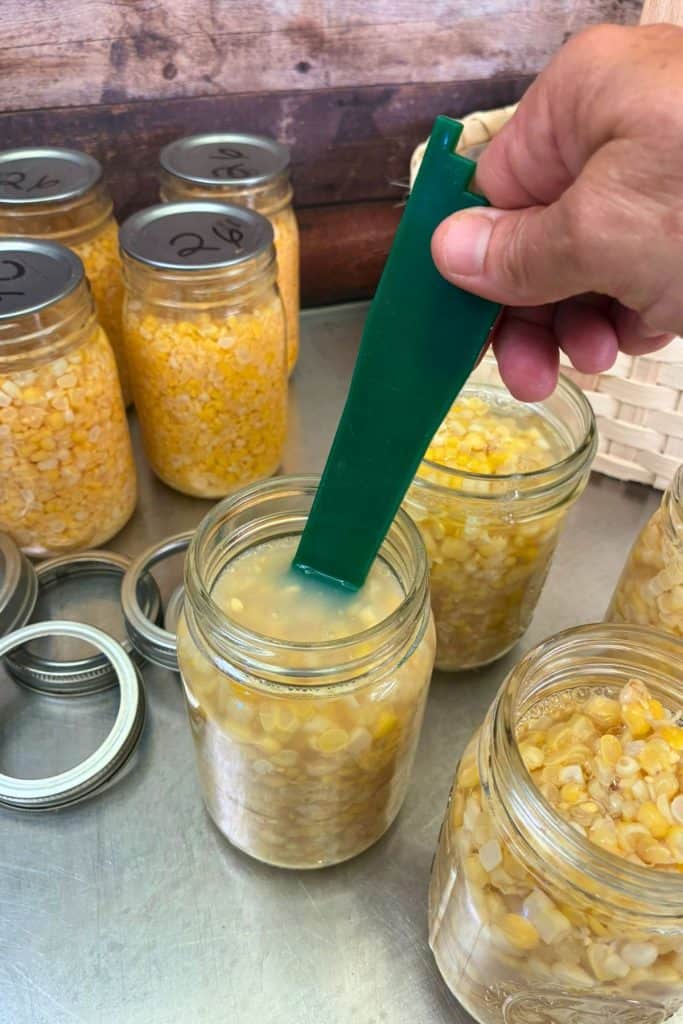
Once the jars are filled with water, use a debubbling tool and remove any air bubbles from each jar. Add additional water if needed to maintain 1-inch headspace.
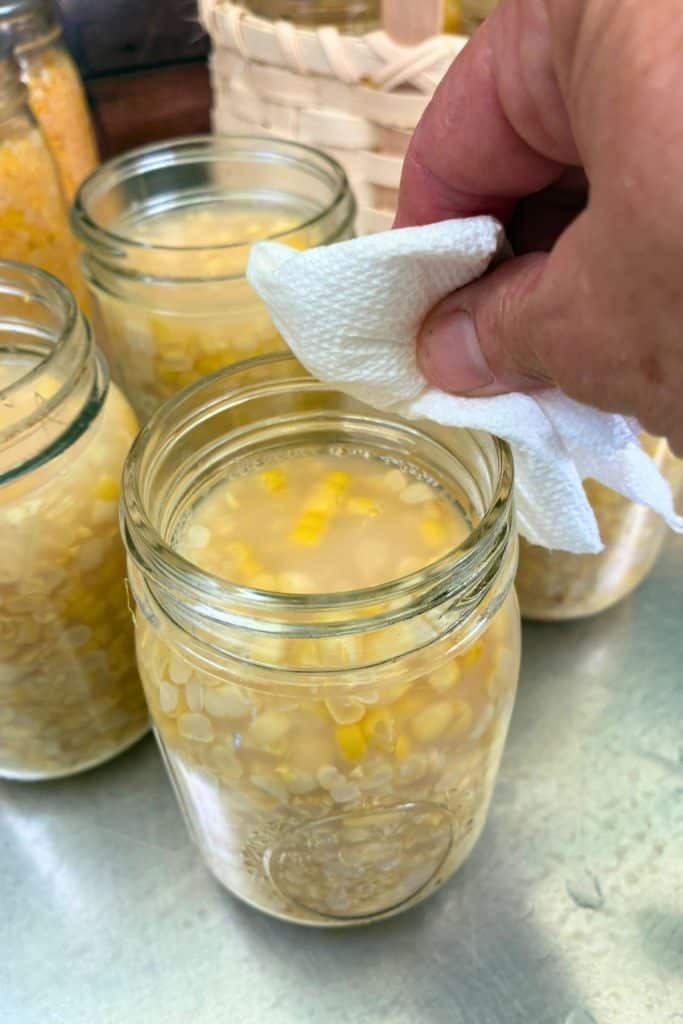
Clean the rims of your jars with a vinegar-soaked towel. Add new lids to each jar and secure the rings finger-tight.
- Debubble each jar.
- Clean rim of jar.
Pressure Canning Whole Kernel Corn
Once your jars are ready, add jars to the prepared pressure canner. Once the canner is fully loaded, secure the lid, leaving the steam vent open to allow the canner to vent.
Using a Dial Gauge Pressure Canner
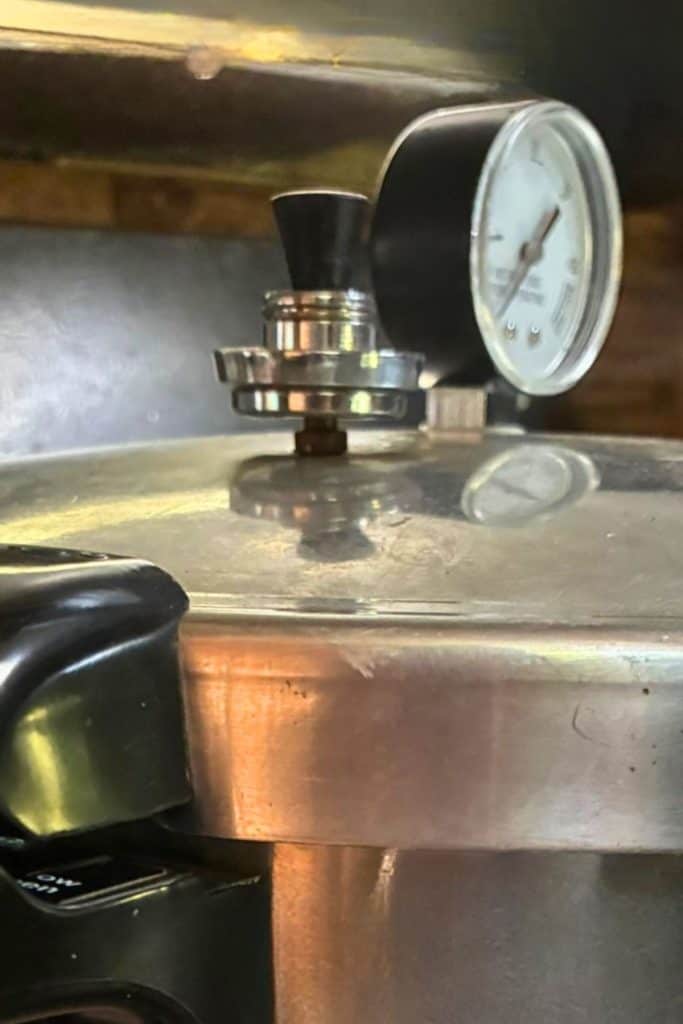
Turn on the heat to medium-high heat. Once the canner is vented, add the weight to the steam vent. This causes the pressure to build inside your pressure canner, which is measured by pounds of pressure. If you are using a dial gauge canner, you can see the pressure increasing on the pressure gauge. The processing pressure is determined by your altitude since water boils at a different temperature for higher altitudes. Please see the recipe card for the pressure appropriate for your altitude. Once it reaches the desired pressure for your altitude, reduce the temperature on the stove slightly to maintain a steady pressure. You don’t want to reduce the heat too much and cause the pressure to drop. However, you want it to stabilize and maintain the correct pressure.
Using a Weighted Gauge Pressure Canner
If you have a weighted gauge pressure canner, the weight will remain still until it reaches pressure. Once it does, the weighted gauge will begin to rock, regulating the pressure inside. I reduce the heat when the rocking begins to maintain a steady rocking motion. It should gently rock, not furiously rock. While I have a dial-gauge pressure canner, I have purchased a weighted pressure regulator designed for my canner. It transforms my dial-gauge pressure canner into a weighted-gauge pressure canner that self-regulates the pressure inside. While I do still need to monitor the canning process, the weighted pressure regulator is liberating!
Monitor the Processing Time
Once the pressure has been reached, set a timer for your processing times. Pint jars of corn are processed for 55 minutes, while quart jars are processed for 85 minutes. If you are using a combination of jar sizes, always select the time for the largest jar size being processed.
You’re Finished, Now What?
Once the processing time has been completed. Turn off the heat and allow your pressure canner to cool and depressurize on its own. Once the pressure is released, carefully open the lid, using the lid to shield your face and direct the steam away from you. Leave the canner open for 5 to 10 minutes to allow the jars to become accustomed to the cooler temperature of your kitchen.
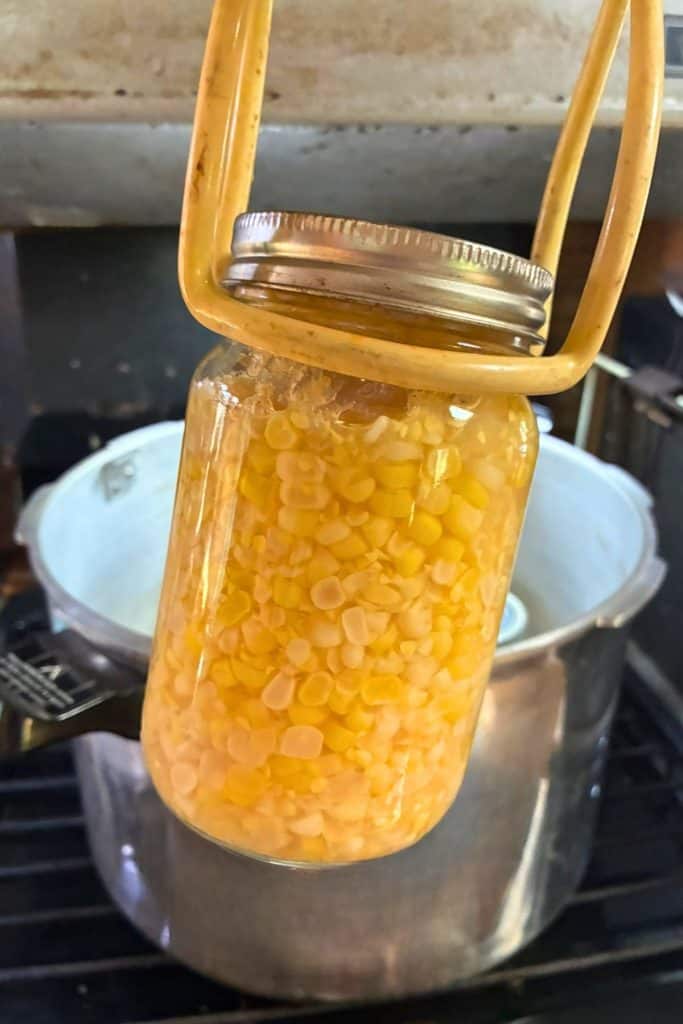
Use a jar lifter to carefully remove the hot jars to a prepared surface. I place a towel on the counter to protect the jars and counters from the temperature differences. If your room is especially cool, cover the jars with a towel to allow them to cool more slowly. Leave the jars undisturbed for about 24 hours.
Last Step Before Storing in Your Pantry
After you have waited 24 hours, it’s time to prepare your jars for long-term storage. You need to do two things. First, remove the rings, checking to be sure each jar is sealed. The rings are only used for processing; you should never store the jars with the rings on them.
If a jar doesn’t seal, refrigerate the jar and use as soon as possible. With many home-preserved foods, I will reprocess jars that don’t seal, but I did not like the results of corn reprocessed. Even using Grandma’s Canning Acid, the jar was beginning to look a little brown. The corn tasted like canned corn ( a flavor you can’t mistake). It’s no wonder, really, the food had been cooked for almost 2 hours!
Lastly, wash your sealed jars. Home canned food may have food residue on the outside of the jars. This can draw insects into your pantry, something no one wants!
Using Home Canned Corn
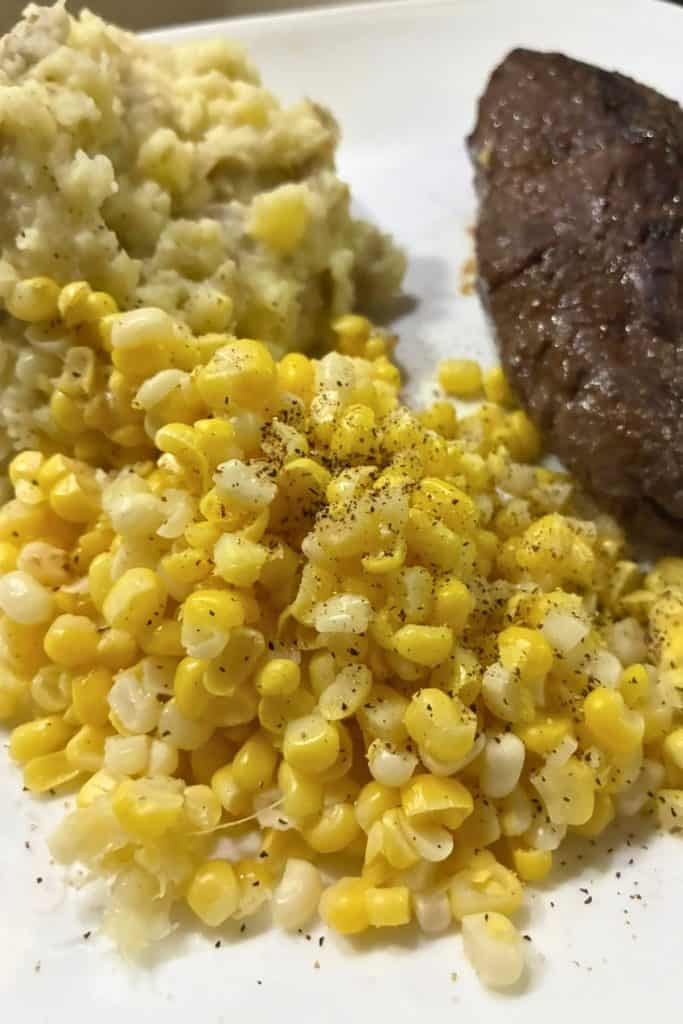
The best part about canned corn is it is fully cooked; no need to overcook it when serving. I prefer to open a jar of home-preserved corn and strain out the liquid. You can cook the corn in the liquid, but I prefer to rinse and warm it in fresh water… yes, I’m weird like that!
Warm the corn. There is no need to bring to a boil and simmer for a long amount of time. I put the corn on low heat and simply warm it up. The corn remains crisp, colorful, and oh so flavorful!
Worth the Effort
Using Grandma’s Canning Acid has made me a believer in canning corn again. This simple additive preserves the color and quality of my home-grown corn, while processing it at the National Center for Home Food Preservation’s recommended processing times gives me peace of mind that I am following the tested processing guidance for corn. Home food preservation can be a lot of work! However, it’s so rewarding to see rows of quality food that you have preserved for your family!
FAQ
No. While I follow the recommended guidelines for processing whole kernel corn, Grandma’s Canning Acid is an additive that I have chosen to use in addition to these guidelines.
For years, I would have told you it’s better to freeze! But using Grandma’s Canning Acid has made me a believer in canning corn again! It removed my biggest complaints: ugly brown corn that tasted like a can!
YES! Corn is a low-acid food. The recommended pressure for corn is 10 to 11 lbs of pressure (depending on your canner). Pints are processed for 55 minutes. Quarts are processed for 85 minutes.
Don’t be so hard on yourself! Food you buy in the grocery store has been picked long before you buy it. Refrigerate corn to keep it as fresh as possible. Preserve your corn as soon as you can. The fresher, the better!
No, salt in canning is for flavor, not food preservation. When you mix the Grandma’s Canning Acid solution, salt is added to the solution; there is no need to add more salt to each jar.
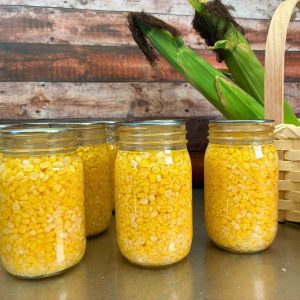
Pressure Canned Corn that Stays Yellow
Equipment
- pressure canner
- Clean glass canning jars. Always inspect the jars for any nicks chips on the rims or sharp edges that might prevent the jar from sealing.
- clean canning lids
- clean canning rings
- white vinegar
- ladle
- canning funnel
- jar lifter
- Tool to remove bubbles and headspace tool optional
- corn stripping tool or knife
Ingredients
- 1 bushel fresh sweet corn
- 3 quarts water
- 2 cups sugar
- ½ cup canning salt I use Real Salt
- 1 packet Grandma's Canning Acid
- extra water to fill jars.
Instructions
- Shuck corn, remove silk and, wash.
- Blanch corn for 3 minutes in boiling water. Begin the timer as soon as the corn goes into the pot, even if the water is at a simmer.
- Remove corn from the boiling water and immediately place it into a prepared ice bath to stop the cooking.
- Once the corn is cool, use a knife or corn stripper to remove the corn from the cob. Cut only about ¾ of the depth of the corn; don't scrape the cob.
- Using the raw pack canning method. Fill clean canning jars with corn, leaving 1" headspace; don't shake or pack down. Corn expands as it cooks.
- Measure 3 quarts of warm water into a pitcher, add 2 cups of sugar, ½ cup of salt, and one packet of Grandma's Canning Acid. Stir well to dissolve. Please note: This solution is sufficient for 20 quarts.
- Divide the solution evenly among jars. (This should not fill the jars.)Pint jars: add just under ⅓ cup per jar.Quart jars: add a little more than ½ cup per jar.
- Use water to fill the remaining space in the jars, maintaining 1" headspace.
- Use a debubbling tool to remove bubbles from the jars; add additional water if needed to maintain 1" headspace.
- Clean the rim of the jar with a paper towel moistened with white vinegar.
- Add a NEW metal canning lid.
- Secure finger-tight using a metal ring.
- Process corn at the correct pressure for your altitude (see notes below). Pints are processed for 55 minutes.Quarts are processed for 85 minutes.
Notes
- 0 to 2000 feet in elevation: 11 lbs of pressure
- 2001 ft to 4000 feet in elevation: 12 lbs of pressure
- 4001 to 6000 feet in elevation: 13 lbs of pressure
- 6001 to 8000 feet in elevation: 14 lbs of pressure
- 0 to 1000 feet in elevation 10 lbs of pressure
- Above 1000 feet in elevation: 15 lbs of pressure
Nutrition

About the Author: Barbra-Sue Kowalski grew up on a small hobby farm. She was always drawn to farm life, however, she was stuck in an urban life far from her roots. Barbra-Sue was a single mom for 13 years, raising her 3 children on her own. She met Philip in 2018 and they married in 2021. Between the two of them, they have 5 grown children and 7 grandchildren. These empty nesters are following their dreams! As they both turn 50, they are building their off-grid homestead to live the life that they dream about. Learn more about Philip and Barbra-Sue here. Contact them here. To leave a comment on this post, please scroll down.


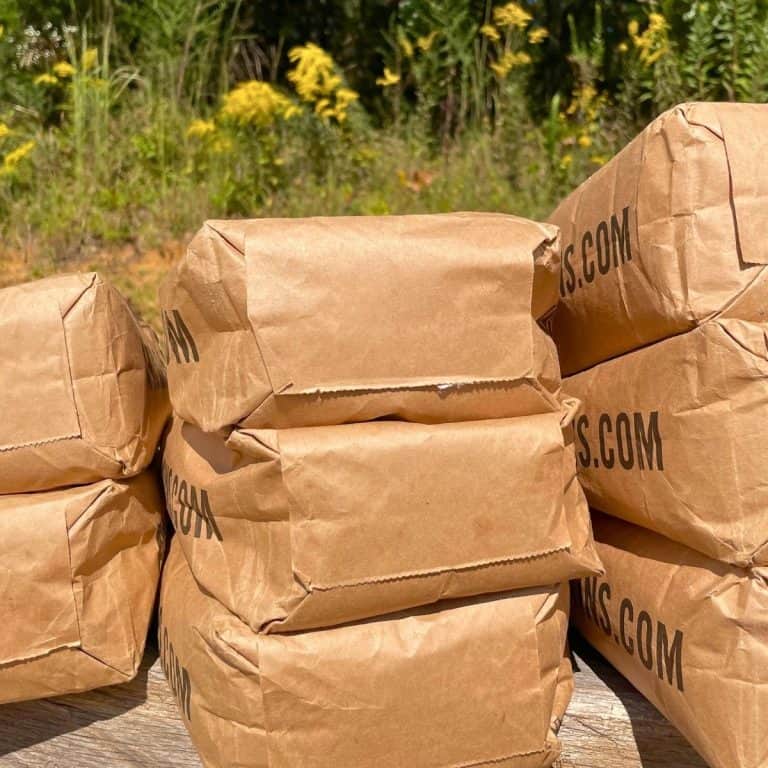

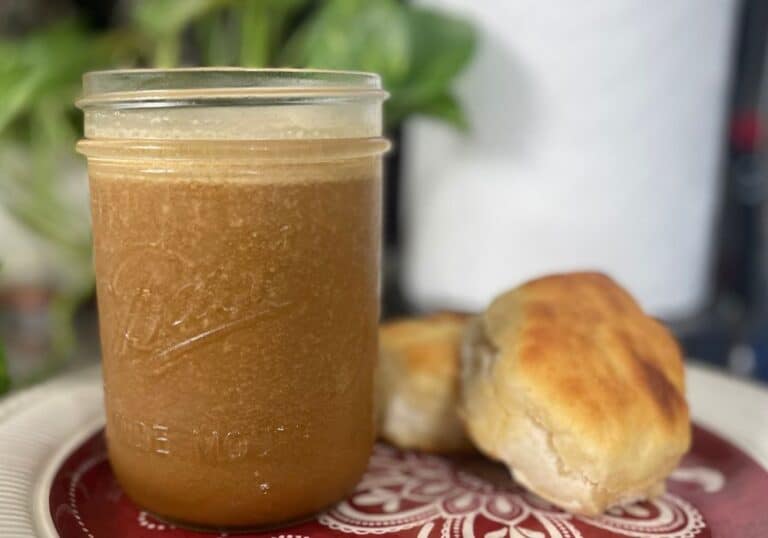
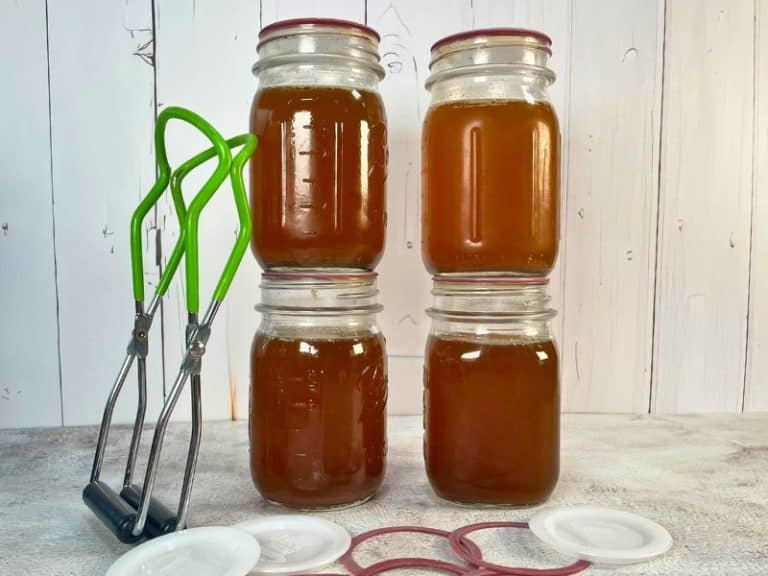
Bless my Amish neighbor! Canning fresh sweet corn is a delicious option for me again! The corn looks beautiful and tastes like the day it was picked!