How to Make DIY Dexter Calf Halters at Home

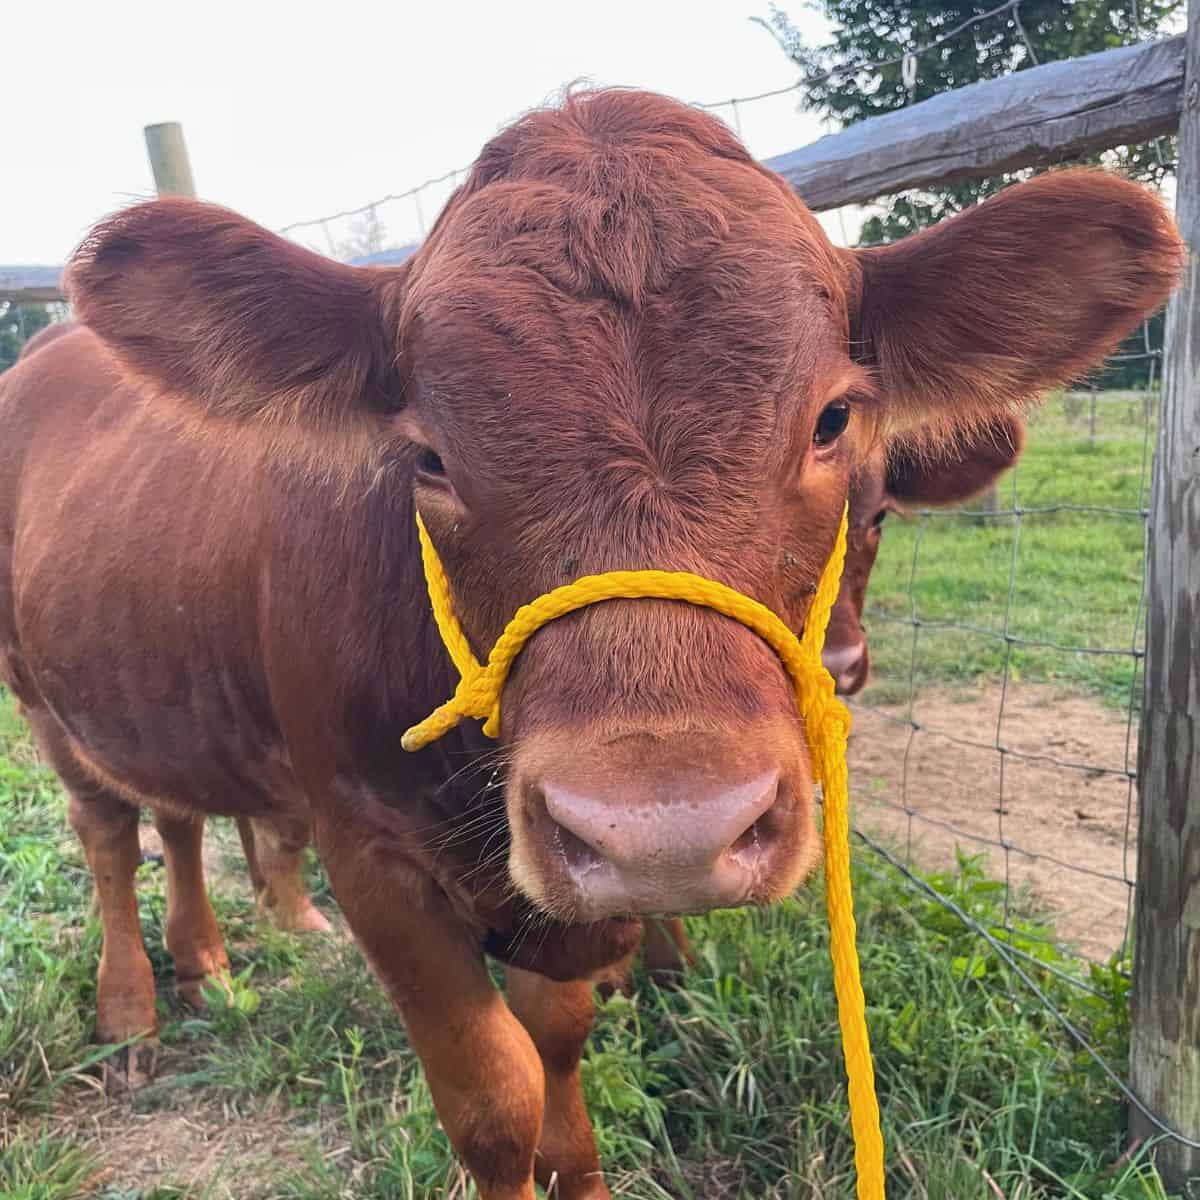
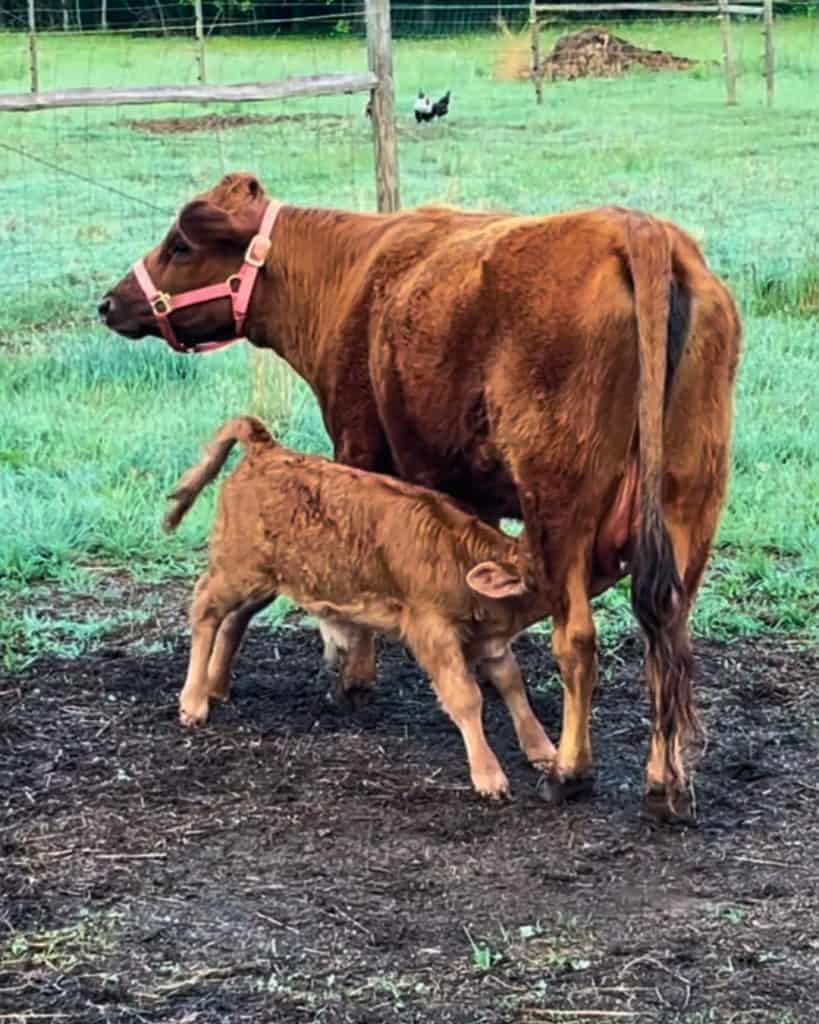
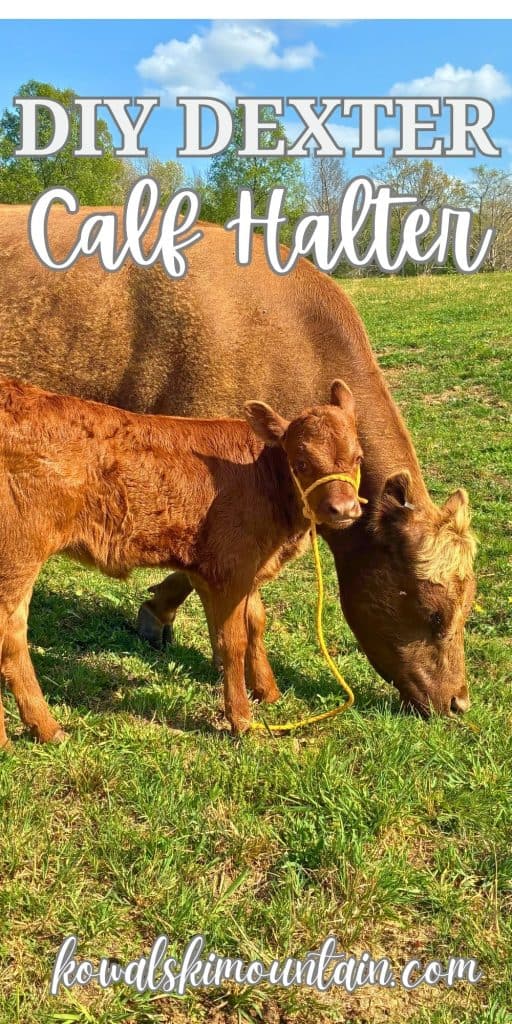
If you have ever tried putting a standard calf halter on a Dexter calf, you already know that even after weeks of growing, a standard-size calf halter still doesn’t fit the compact face shape of a Dexter calf. While there are a few custom options available from small businesses, they are expensive. The good news? Making DIY Dexter calf halters is easier than you think! The best part, they are a fraction of the cost and can be custom fit to your growing calves. Whether you are halter-breaking your first calf or frustrated with ill-fitting gear, I’ll share step-by-step how to create a custom calf halter for your Dexter calf.
Why Dexter Cattle Need Specially Sized Halters
As new breeders, we quickly became frustrated with halters for all of our Dexter cattle. Even cow halters for adult cattle don’t fit perfectly. I felt like the halters were cutting into the chins of the shorter, stockier faces of my cows. And completely forget about a halter to fit a bull!
Commercially purchased rope halters worked well for adult cattle but were too large and bulky for calves. We even tried using halters for different animals, such as foals and sheep. Some worked ok, but none fit perfectly, and the calves quickly outgrew each style. In desperation, I began searching for DIY options to create a halter that would fit my young Dexter calves and allow me to begin halter training right away.
SUMMARIZE & SAVE THIS CONTENT ON
Custom Rope Halters for Dexter Calves
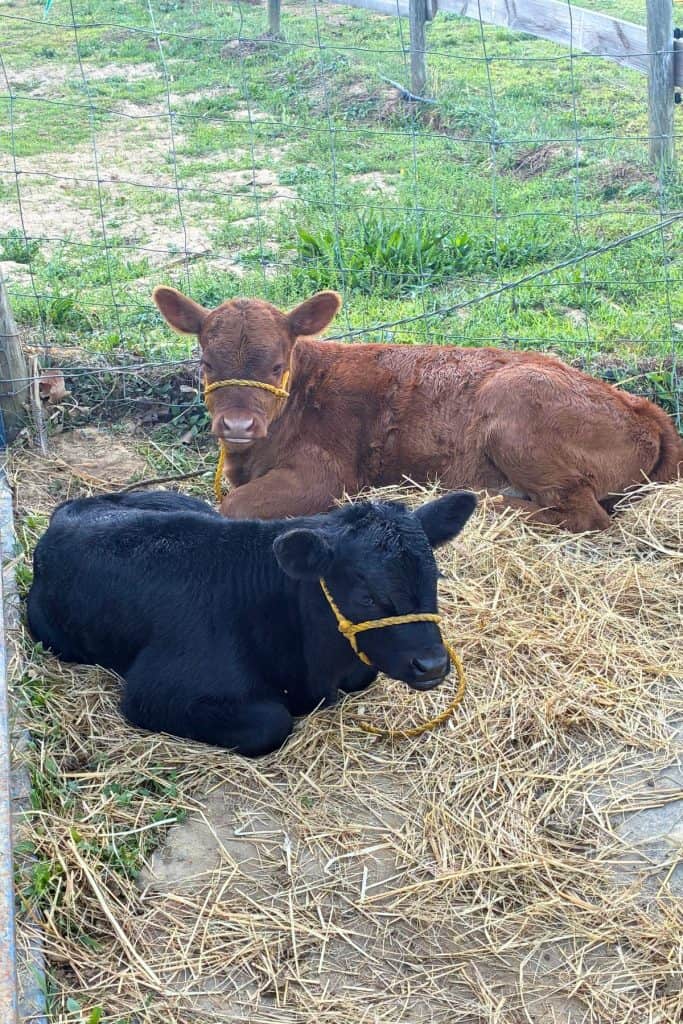
I keep halters on my calves for two reasons: ease in catching and training.
One of the reasons I like this style of rope halters is that it has an attached lead rope. Admittedly, I was concerned about this, but having used this style of halter on many calves, I have yet to have problems in a controlled environment. Please be advised: this style of halter is for calves in a supervised, controlled environment.
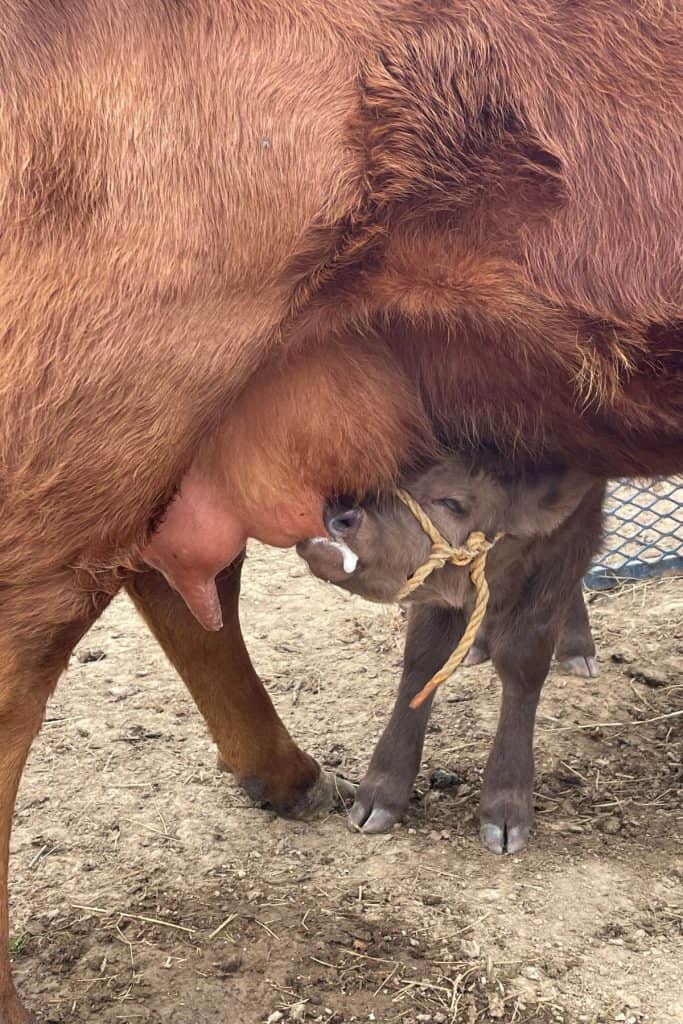
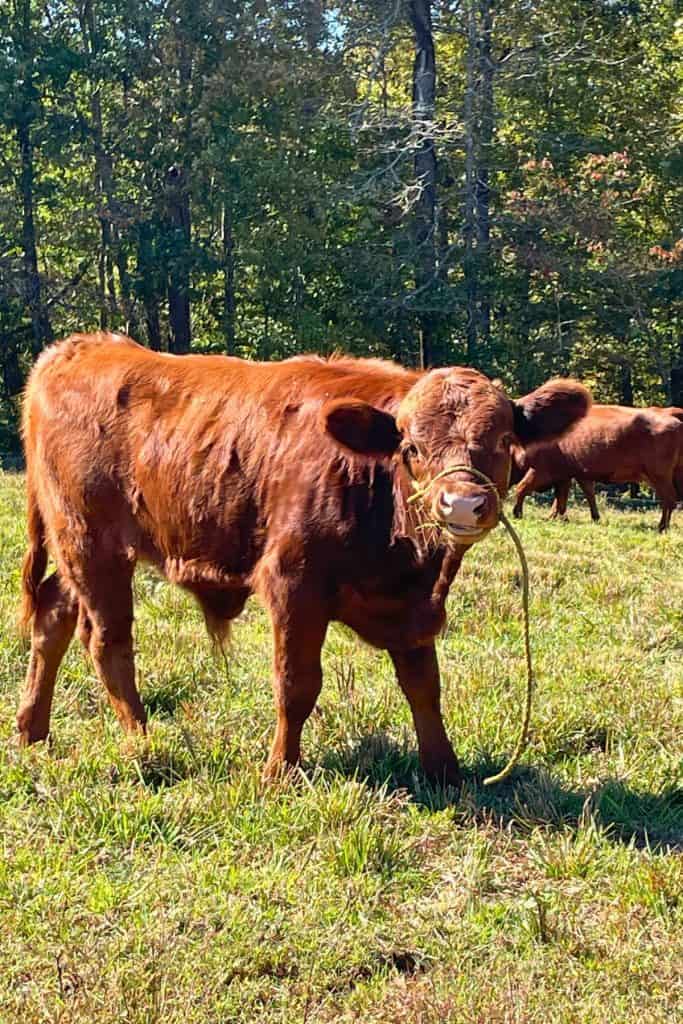
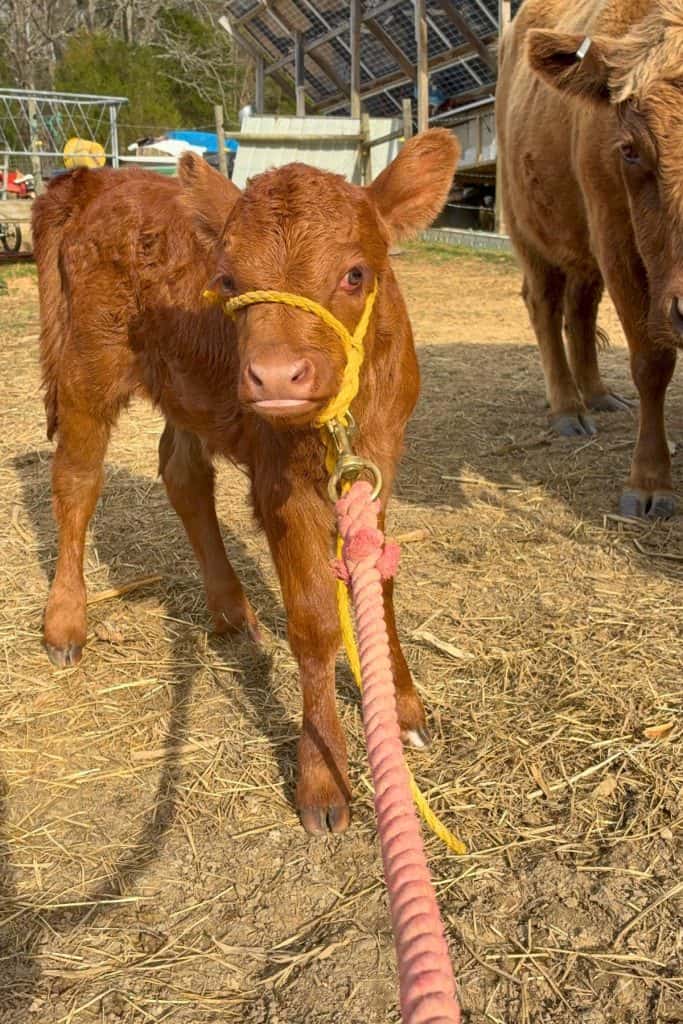
A long lead rope also has its advantages. This year, I made the lead rope long enough for the calves to step on. This helps teach the calves pressure and release, and desensitizes them to having pressure on their faces from the halter. This is a foundational step in halter training.
The second advantage is that it’s easy to step onto to catch the calf. If I lean in to grab a lead rope, most calves will step away, but if I reach out with my foot, the calves are less likely to react. This makes it easier for me to catch a calf in training.
Cautions Regarding Using a Rope Halter
Learn more about Dexters, the perfect homestead cattle!
Materials You’ll Need
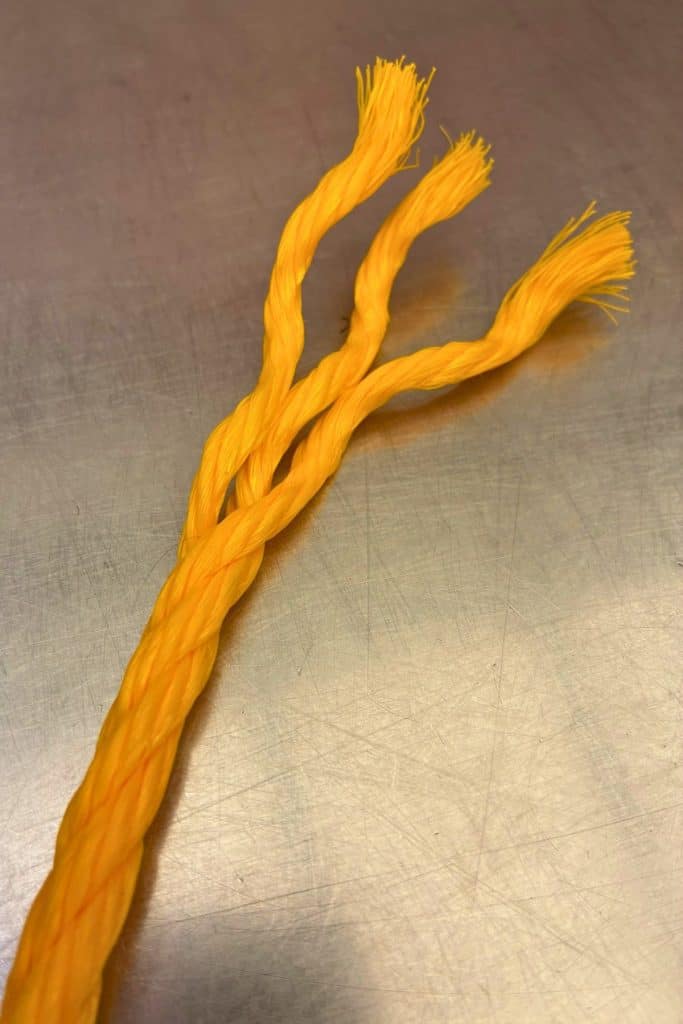
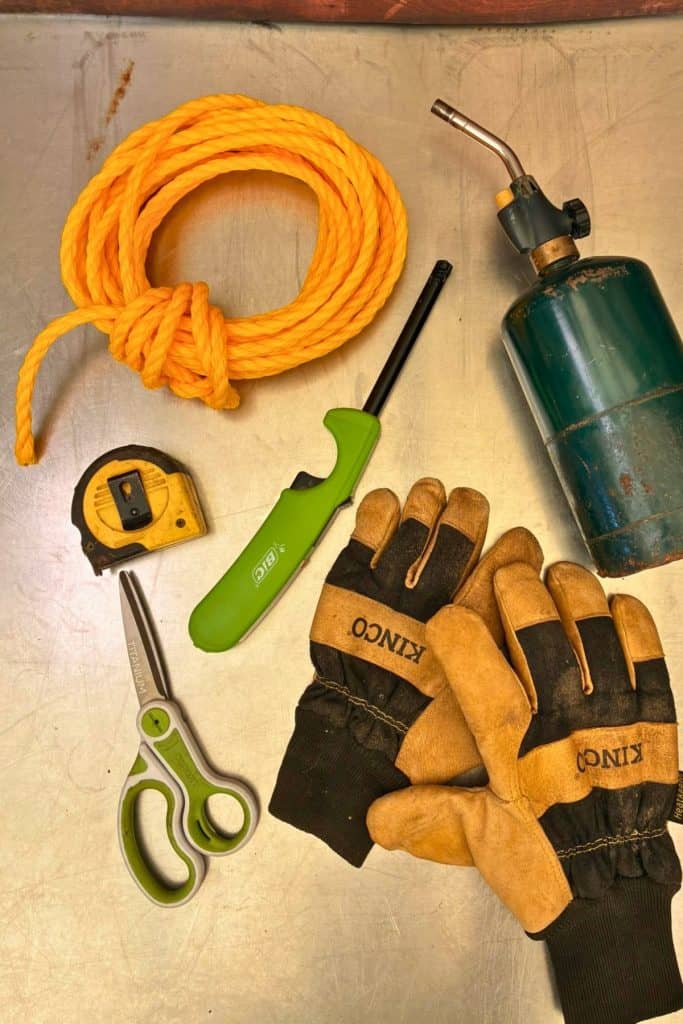
 3 ply twisted poly braid rope
How to make a Dexter Calf Halter Instruction Video
You can find more video tutorials on our YouTube Channel
Step-By-Step Instructions
Step 1:
Measure a length of twisted poly braid rope.
5 to 6 feet is a good length to start. You can always cut it shorter if it’s too long.
Step 2:
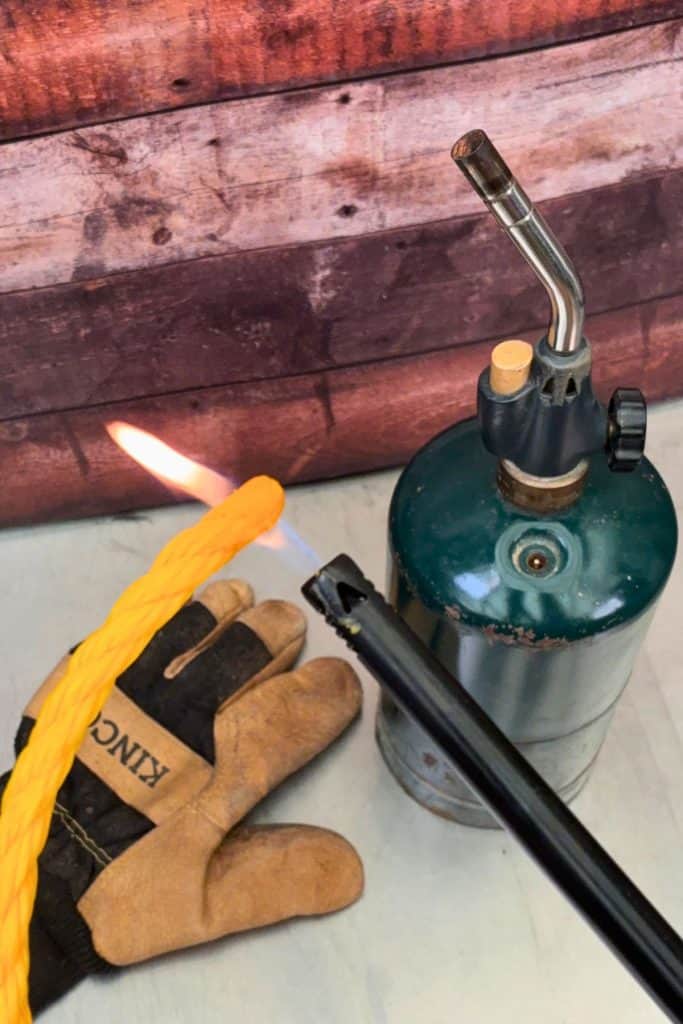
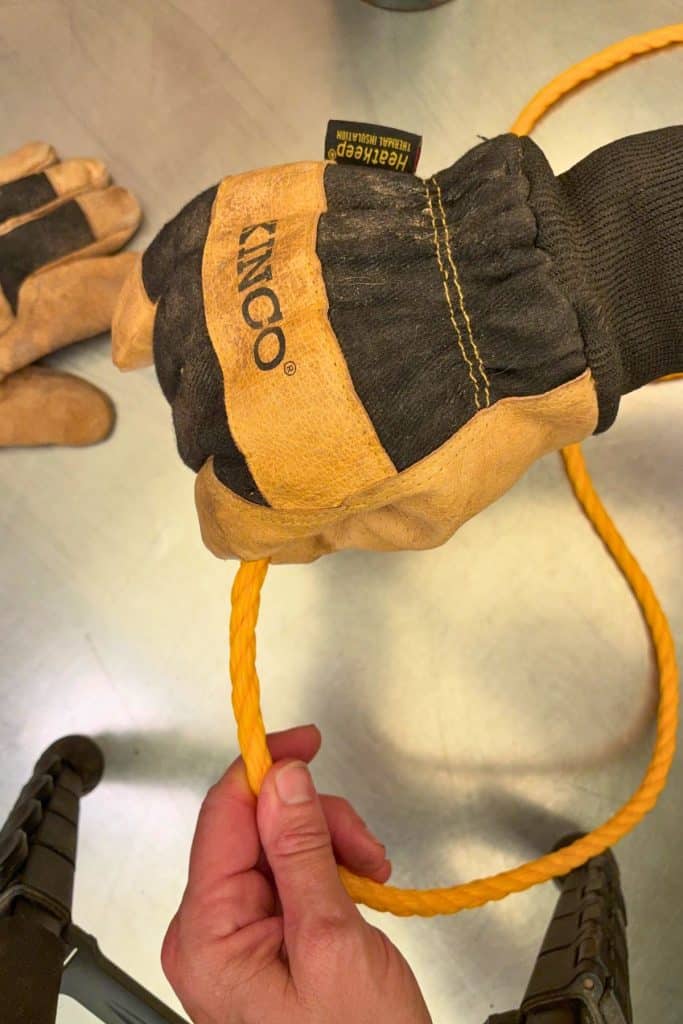
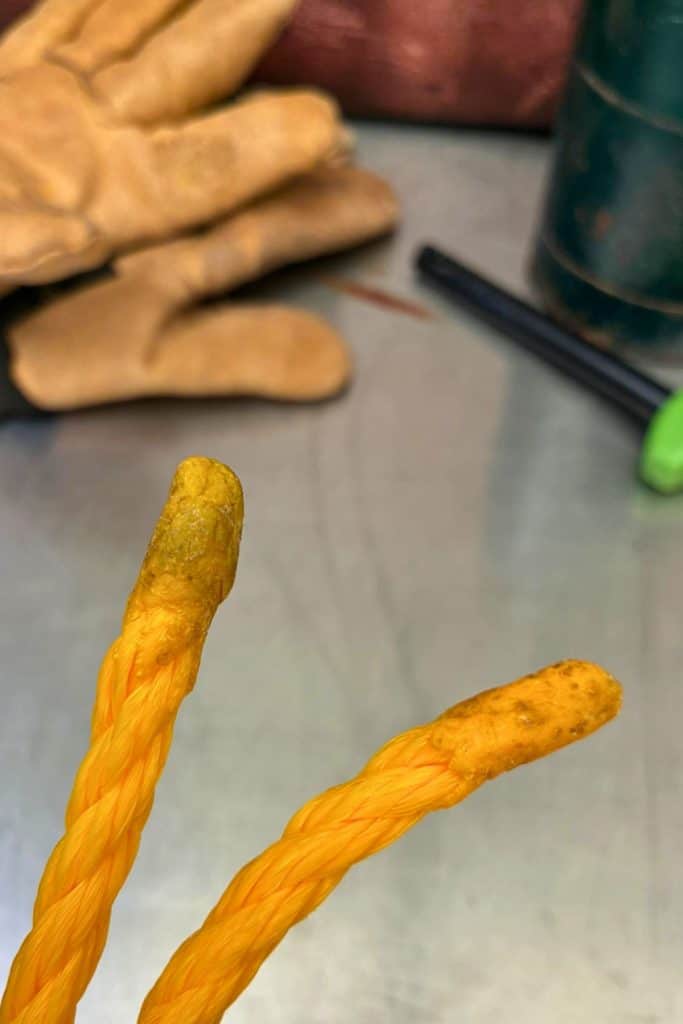
Using heat-safe gloves, melt the ends of the rope. Twist the melted ends in the same direction the rope twists to secure the end. Allow the ends to cool before continuing.
- Melt the end of the rope.
- Twist to set ends.
- Finihed ends, allow to cool.
Step 3:
Measure 15″, mark the rope. This is the length of the brow band.
This can be adjusted to fit your calves. 12″ is a good length for newborns, while older calves may need slightly longer.
(Please be aware, if watching the video, I start with a longer length and end up taking the entire halter apart to adjust.)
Step 4:
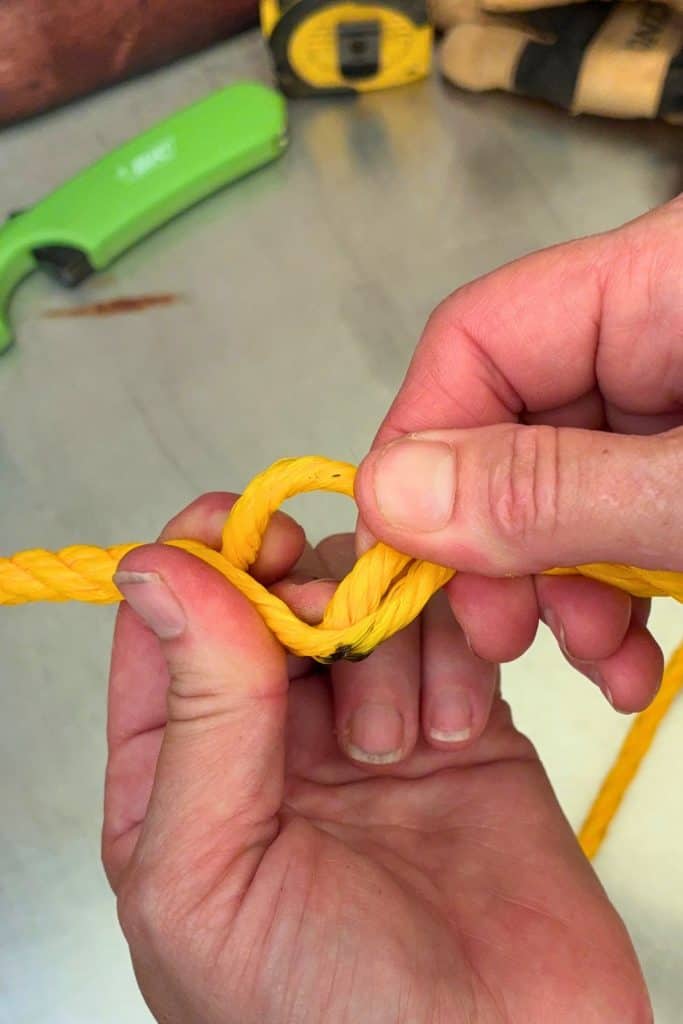
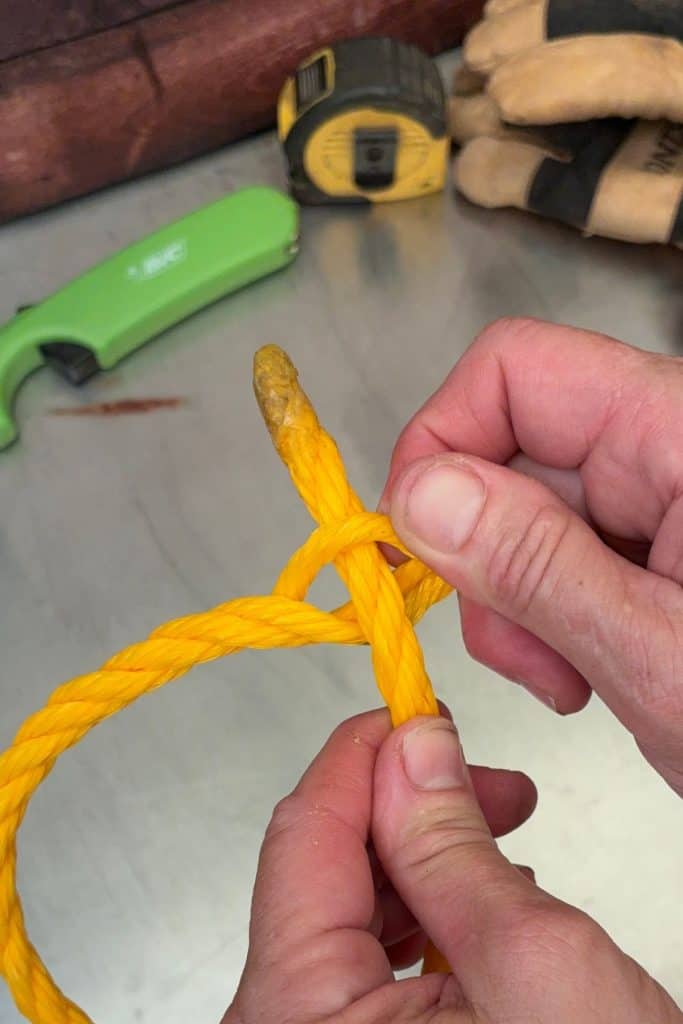
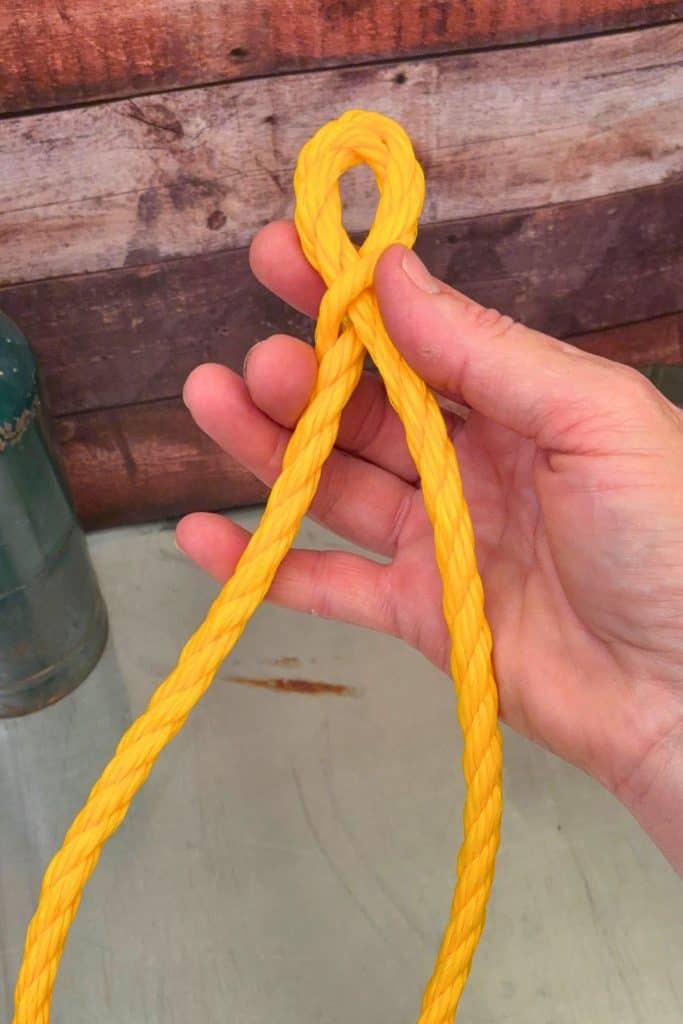
At the brow band mark you measured, untwist the rope so that you have one large opening. Take the rope’s starting end of the brow band (the shorter end) and put it through the opening. Pull through until it creates a loop. Don’t pull this through too tightly; leave it so you can work with it later.
- Untwist the rope at the mark, create one opening.
- Put the starting end of the brow band (shorter end) through the opening.
- Pull through to create a loop.
Step 5:
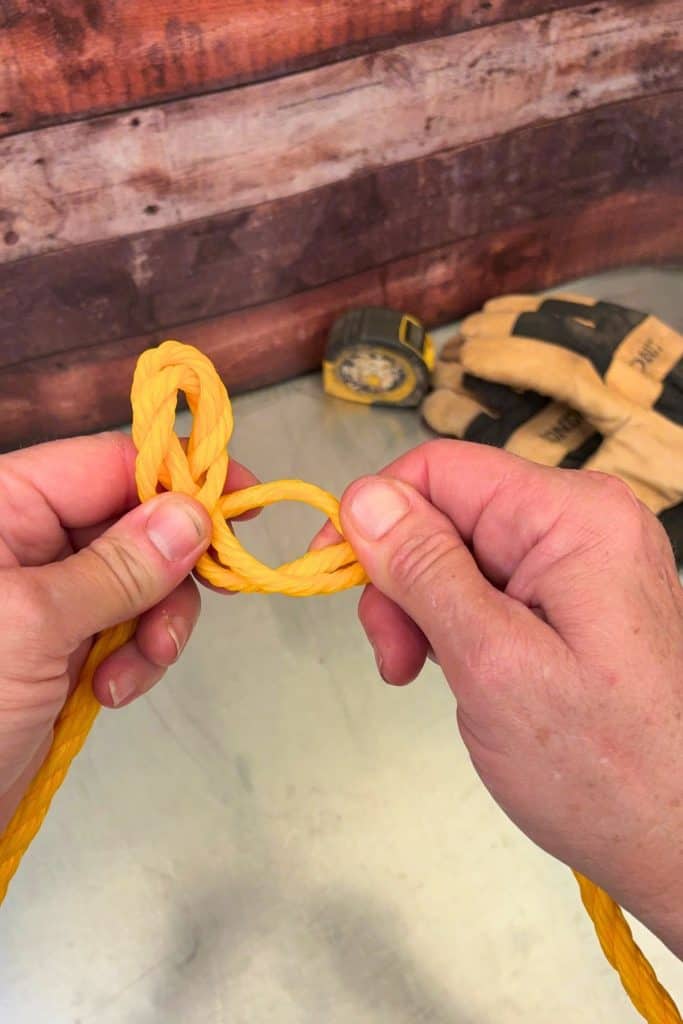
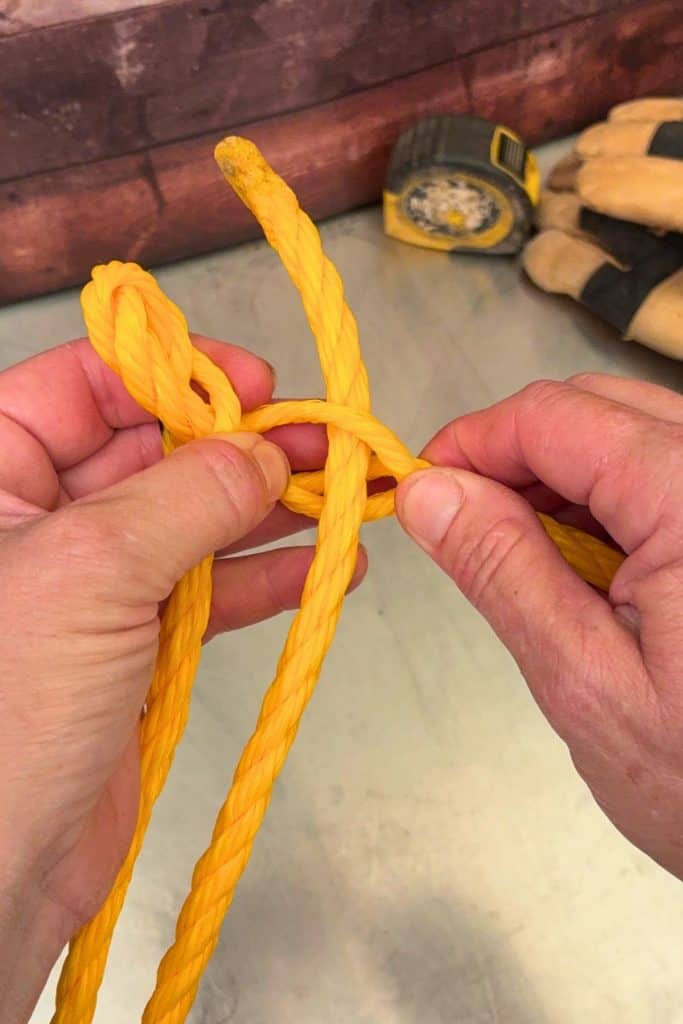
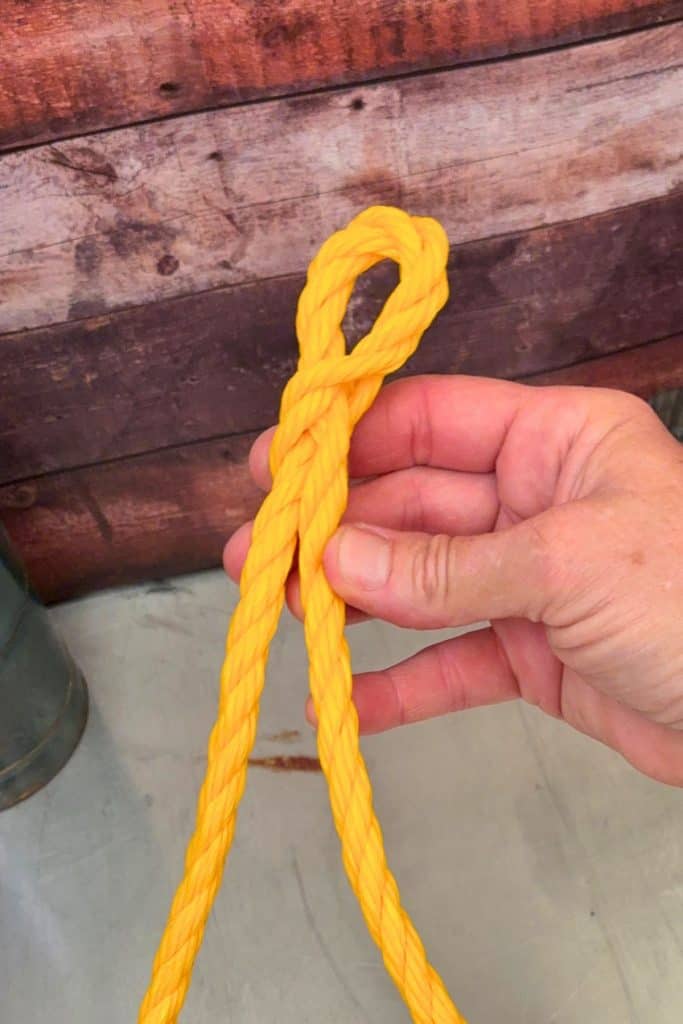
Next to the loop you just created, on the brow band side of the rope (the shorter end), untwist the rope and open one of the openings. This time, take the lead rope end (the long rope and feed it through. Secure tightly.
- Next to the loop, on the brow band side, untwist to create an opening.
- Pull the lead rope end through the hole.
- Pull to secure.
Step 6:
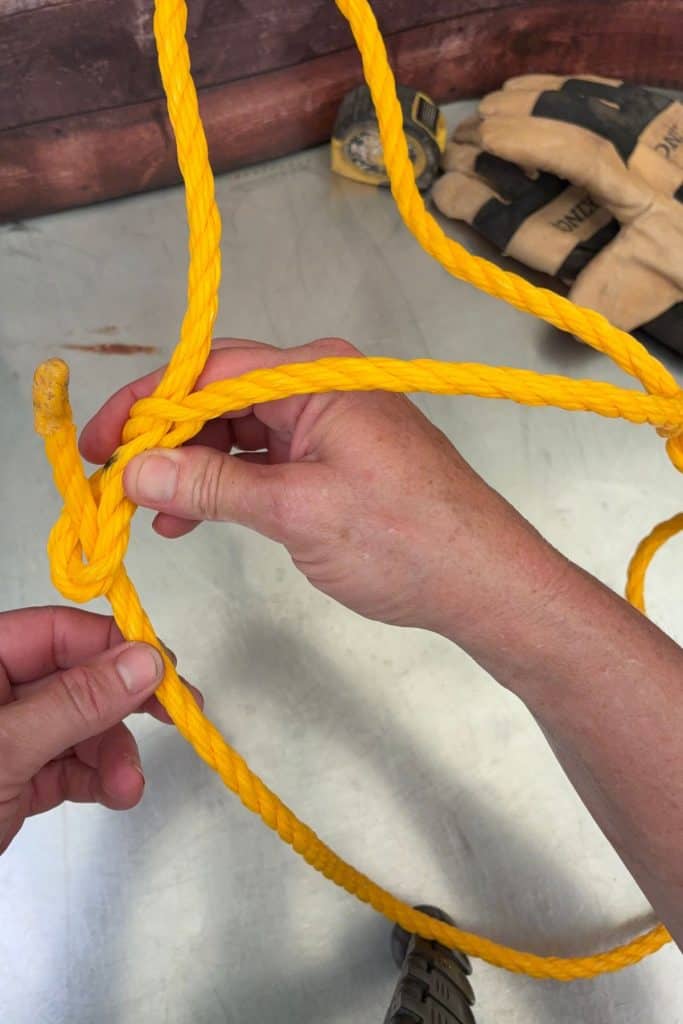
On the starting end of the brow band (the shorter length), untwist the rope to create three separate loops. Line the loops up. Take the end of the lead rope (the long rope) and feed it through the three loops. This is making an adjustable slide loop that allows you to adjust the fit to your calf.
- On the starting end of the brow band, untwist the rope to create three loops.
- Line the three loops up.
- Feed the lead rope end through the three holes. This creates an adjustable slide loop to fit your calf.
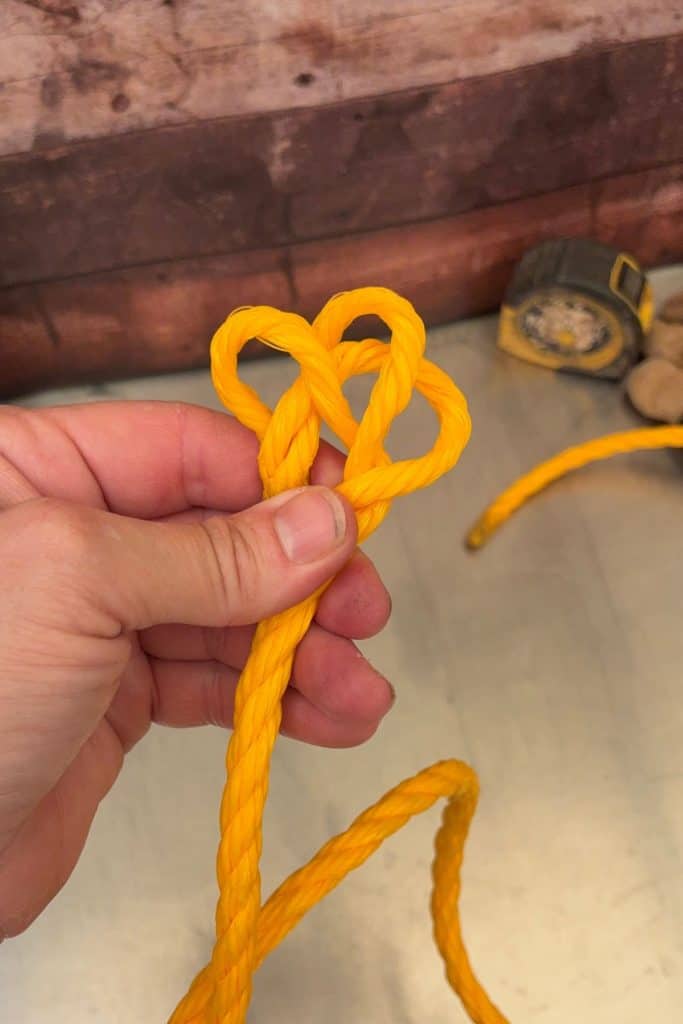
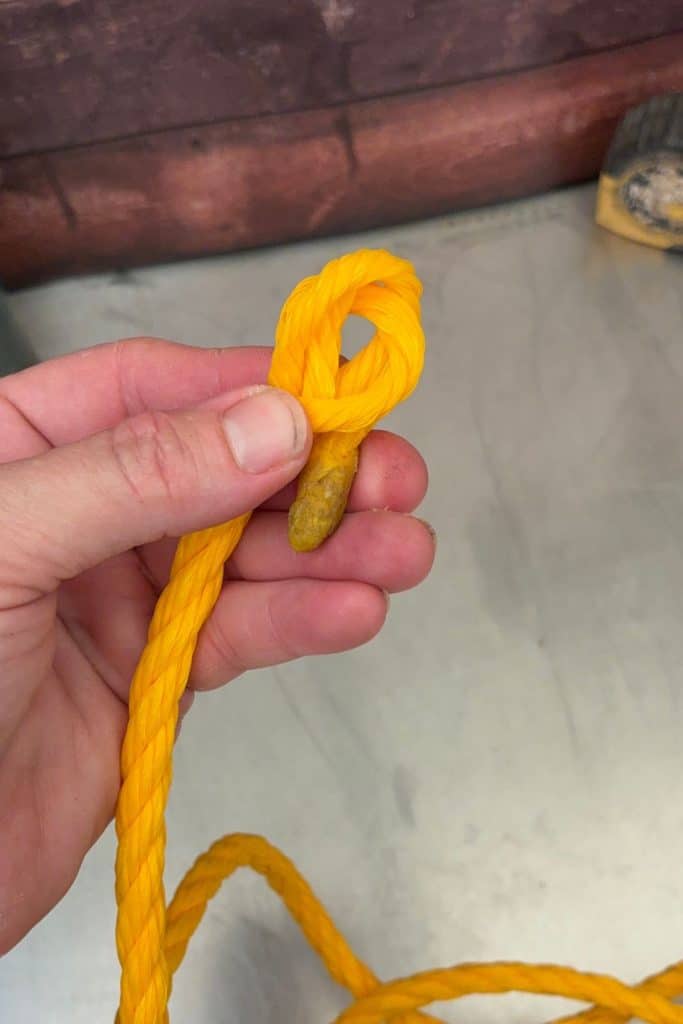
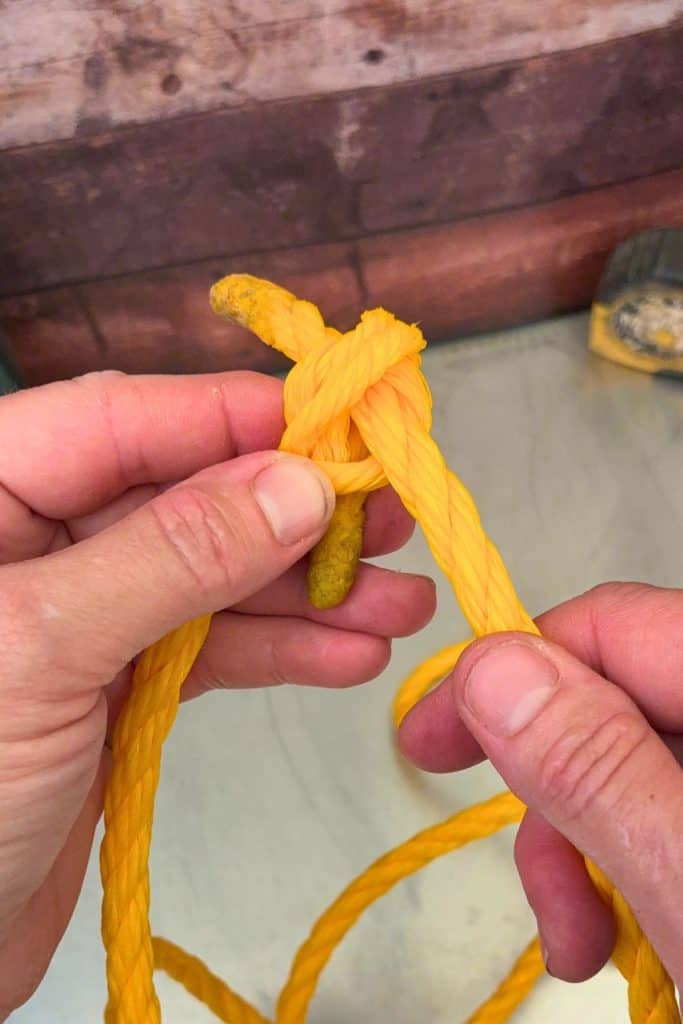
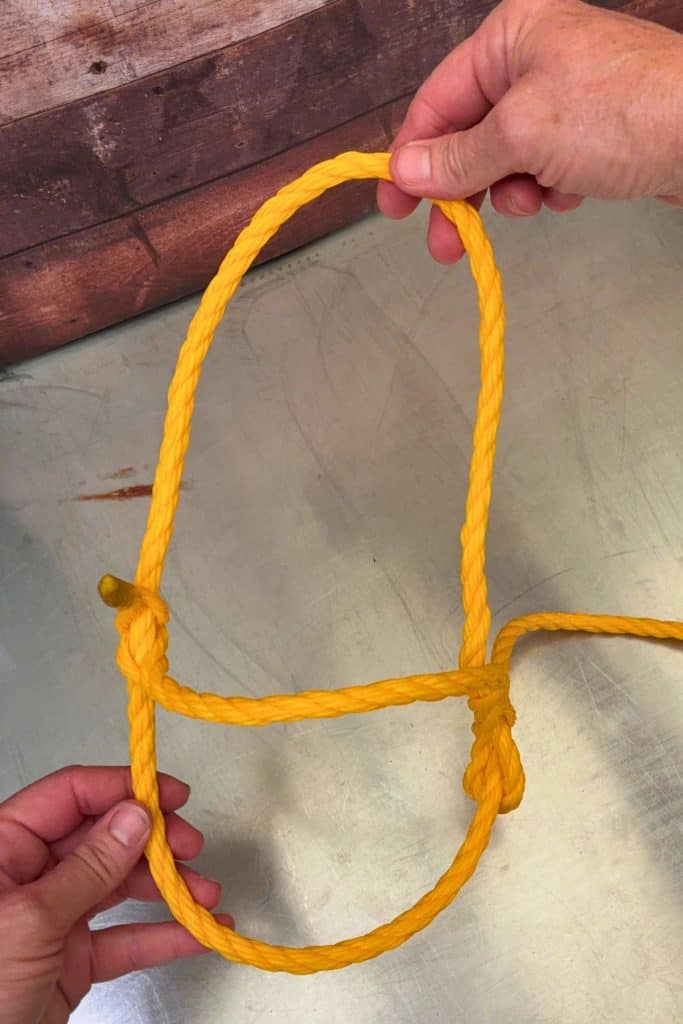
At the end of step 6, your halter should look like this.
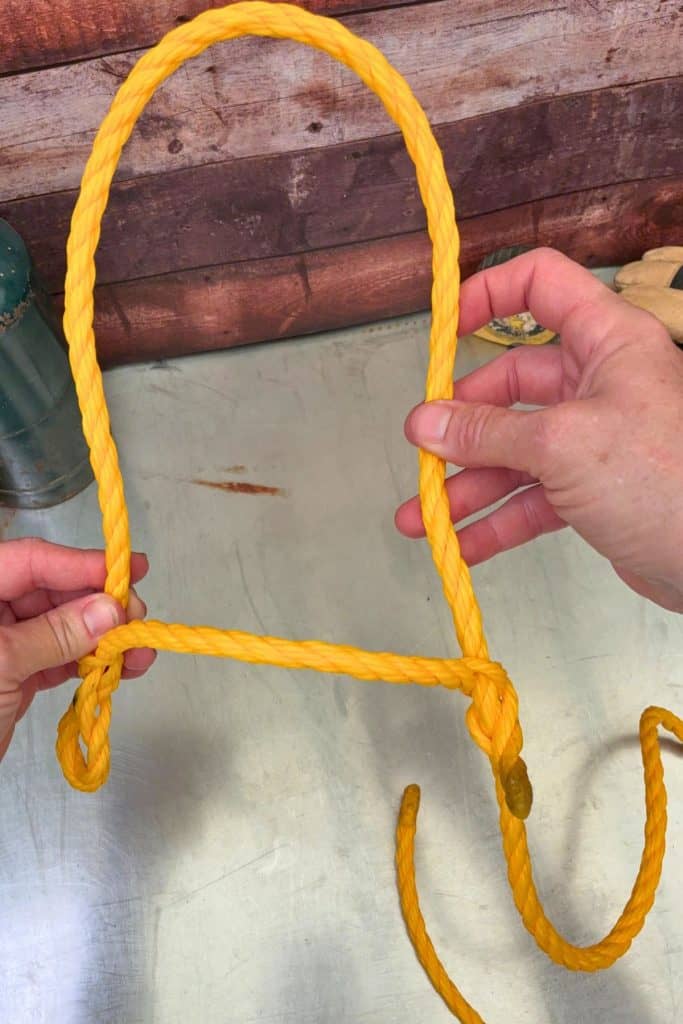
Step 7:
Take the end of the lead rope (the long end) and feed it through the very first loop we created with steps 4 and 5. This creates the rope that secures and tightens under the calf’s chin.
- Feed the lead rope end through the loop we made in steps 4 and 5.
- Finished DIY Dexter calf halter, adjust to fit calf.
Not quite right?
If you make a mistake or feel that the halter does not fit your calf properly, it’s very easy to reverse the steps to untie the rope halter and start again. The poly rope can be adjusted and retied without issues.
Find this post helpful?
Share it on Pinterest
Fit and Secure Your Calf Halter
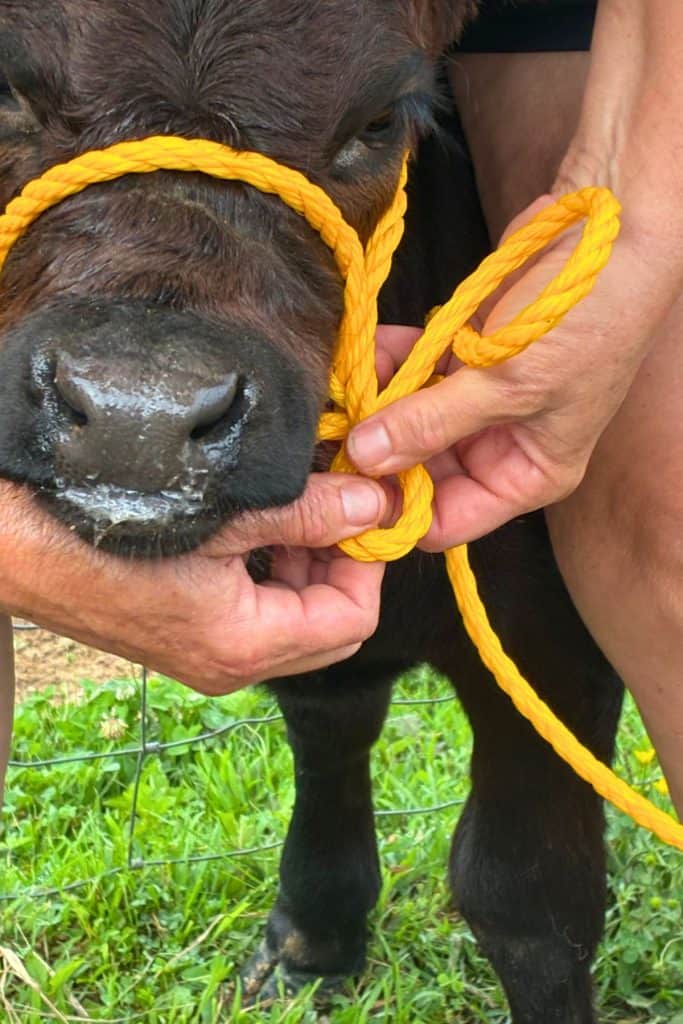
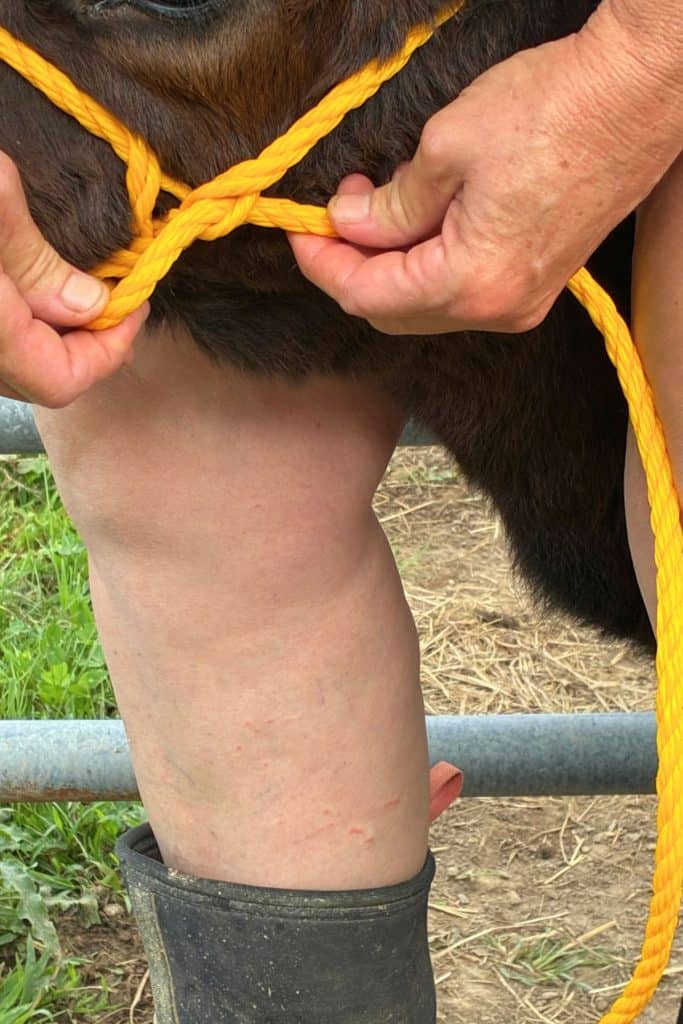
When putting a halter on a young calf, I like to back the calf into a corner and straddle the calf. This gives me more control of the animal, as they can’t back away from me while I fit the halter.
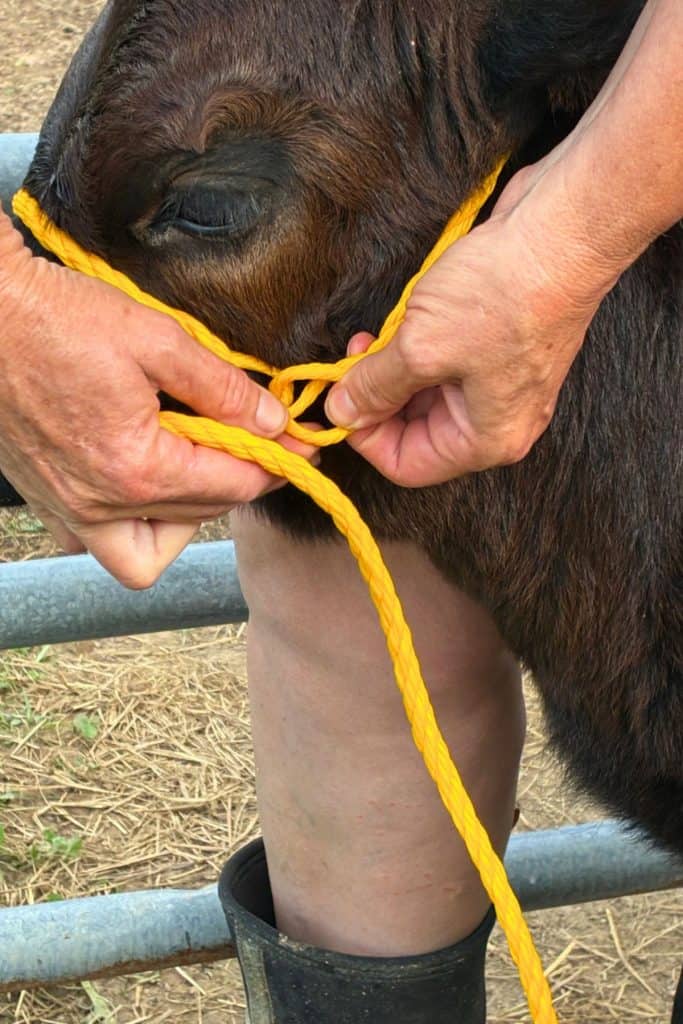
Fit the halter on the calf’s face and adjust as needed. Leave enough room to grow, but not too much that they wiggle out.
Once you are happy with the fit, you have two options to secure. You can tie a knot, which I find bulky. I prefer to untwist the halter rope on that original loop created in steps 4 and 5. Tuck the end of the lead rope through. This will secure the halter. If the calf can step on the rope, it will adjust slightly, so check the fit daily.
- Secure the lead rope by tucking the end of the lead rope through the rope twists,
- Pull the lead rope through and make sure the halter fits correctly.
- Pull the lead rope through to lock down.
Using Your Rope Halter
- This halter does not have a chin strap; it can pull over the calf’s ears if they pull too much. I haven’t had an issue with this. I start very young and work with the animal to avoid the problem.
- When using a lead rope, make sure you clip into both sections, through the nose piece and the head piece. If you clip only one side, the rope will slide to the top of the head.
- ALWAYS supervise your calves, check fit daily.
Budget-Friendly Dexter Calf Halter That Fits
I made my first Dexter calf halter out of desperation! Waiting for my calves to fit into traditional calf halters took longer than I wanted to wait for halter training, and none of the halters fit quite right. Making my own DIY Dexter calf halters has been the best solution for our homestead. I’ve used these on multiple calves and have been pleased with the fit and usefulness. Best of all, I can make a DIY Dexter Calf halter for just a couple of dollars per halter.
FAQ
If using this style rope halter, cut a shorter length of rope to eliminate the lead rope. Make sure it’s long enough to adjust for growth and to secure. Another option to consider is a buffalo halter that makes an adjustable nose rope that secures behind the cattle’s ears.
While I would have liked halters made of nylon webbing that secure with buckles, I was concerned that my sewing machine could not handle the heavy-duty materials. Rope halters seemed to be the easiest option to DIY without specialized equipment.
No, they are not. Horses and cows have very different-shaped heads. A foal halter does fit a Dexter calf well for a short time, but they quickly outgrow them.
Many people will say you should never leave a halter on any animal. I find this counterproductive for using a halter. As long as your calf is in a safe and supervised area, you can.
I use 3/8 inch twisted poly braid rope. It’s lightweight, waterproof, and easy to work with.
DIY Dexter Calf Halter
Equipment
- tape measure
- torch or lighter to melt rope
- heat safe gloves
- Scissors
Ingredients
Instructions
- Measure a length of twisted poly braid rope. 5 to 6 feet is a good length to start. You can always cut it shorter if it's too long.
- Using heat-safe gloves, melt the ends of the rope. Twist the melted ends in the same direction the rope twists to secure the end. Allow the ends to cool before continuing.
- Measure 15", mark the rope. This is the length of the brow band. This can be adjusted to fit your calves. 12" is a good length for newborns, while older calves may need slightly longer. (Please be aware, if watching the video, I start with a longer length and end up taking the entire halter apart to adjust.)
- At the brow band mark you measured, untwist the rope so that you have one large opening. Take the rope's starting end of the brow band (the shorter end) and put it through the opening. Pull through until it creates a loop. Don't pull this through too tightly; leave it so you can work with it later.
- Next to the loop you just created, on the brow band side of the rope (the shorter end), untwist the rope and open one of the openings. This time, take the lead rope end (the long rope and feed it through. Secure tightly.
- On the starting end of the brow band (the shorter length), untwist the rope to create three separate loops. Line the loops up. Take the end of the lead rope (the long rope) and feed it through the three loops. This is making an adjustable slide loop that allows you to adjust the fit to your calf.
- Take the end of the lead rope (the long end) and feed it through the very first loop we created with steps 4 and 5. This creates the rope that secures and tightens under the calf's chin.
Video

About the Author: Barbra-Sue Kowalski grew up on a small hobby farm. She was always drawn to farm life, however, she was stuck in an urban life far from her roots. Barbra-Sue was a single mom for 13 years, raising her 3 children on her own. She met Philip in 2018 and they married in 2021. Between the two of them, they have 5 grown children and 7 grandchildren. These empty nesters are following their dreams! As they both turn 50, they are building their off-grid homestead to live the life that they dream about. Learn more about Philip and Barbra-Sue here. Contact them here. To leave a comment on this post, please scroll down.