The Best Simple Sandwich Bread Recipe Using Fresh Milled Flour
When we switched from conventional all-purpose flour to fresh-milled flour, I could hardly wait to make my first loaf of sandwich bread. The comforting aroma of freshly-baked bread fills the house. The perfect, soft slices of bread are full of whole wheat flavor and nutrition. What could be more perfect? The only thing was, making the switch from all-purpose flour to fresh milled flour is about learning a new skill. I have been tweaking this sandwich bread recipe for a few years. I’ve experimented with techniques and grains and finally have perfected my sandwich bread recipe! If you are new to baking with fresh-milled flour, don’t worry. I’ll walk you through everything you need to know to begin making the very best sandwich bread using whole grains.
What you’ll love about this recipe:
SUMMARIZE & SAVE THIS CONTENT ON
Why Use Fresh-Milled Flour?
I started milling my own flour for preparedness. Wheat berries, when properly stored, can last for decades, while conventional flour has a short shelf life. What surprised me was the rich flavor I had been missing. For decades, we’ve normalized bland, flavorless, ultra-fine flour that leaves our baked goods void of texture and the richness of whole grains. Each type of grain has a distinct flavor that transforms your baking.
When it comes to nutrition, you can’t beat using whole grains. When you mill the grains yourself, you include the nutrition of the entire wheat berry in your baking. Nothing is removed, nothing artificial added back in.
Once wheat is ground, it begins to naturally oxidize. Through oxidation, the full nutrition of wheat is lost. Store-bought flour, even whole-grain flour, loses the majority of its nutrients long before it reaches your pantry. Milling your own flour and using it fresh ensures you use the most nutrient-dense flour possible.
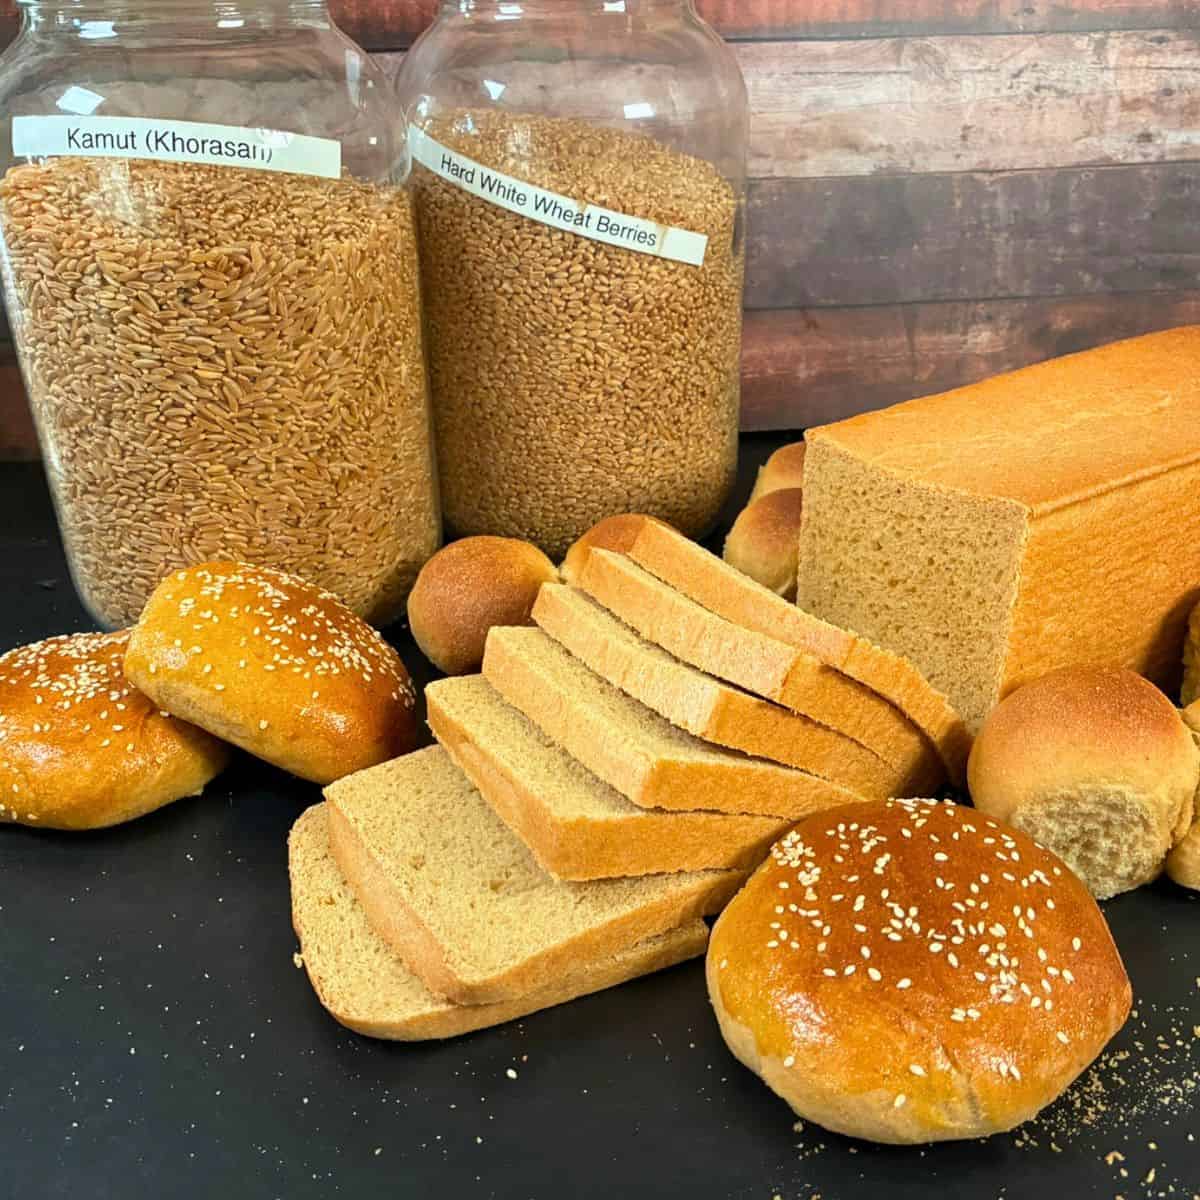
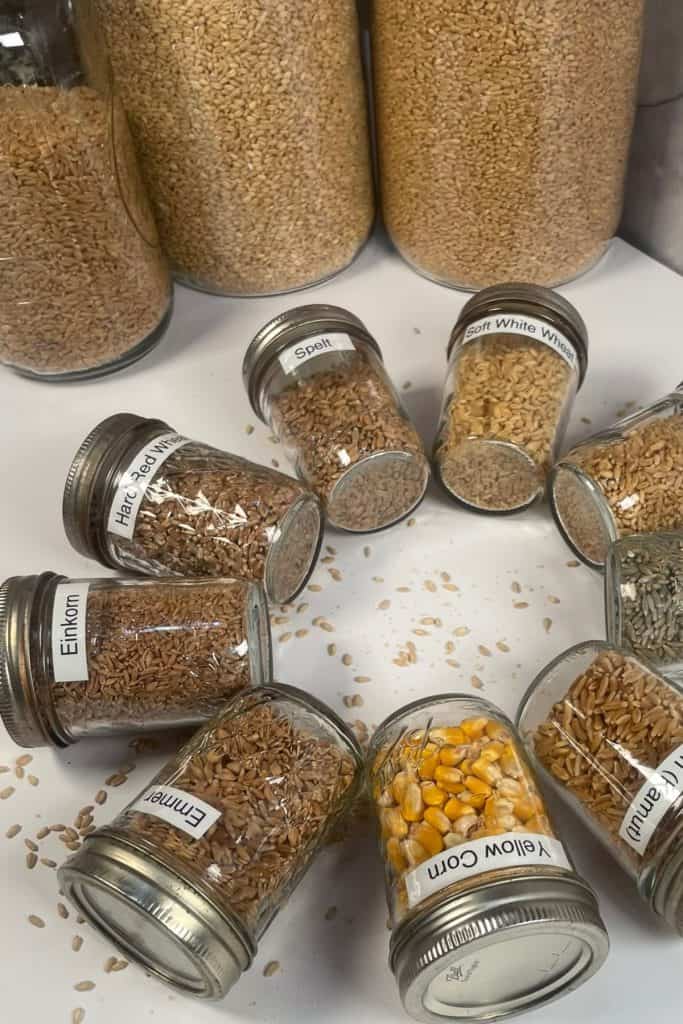
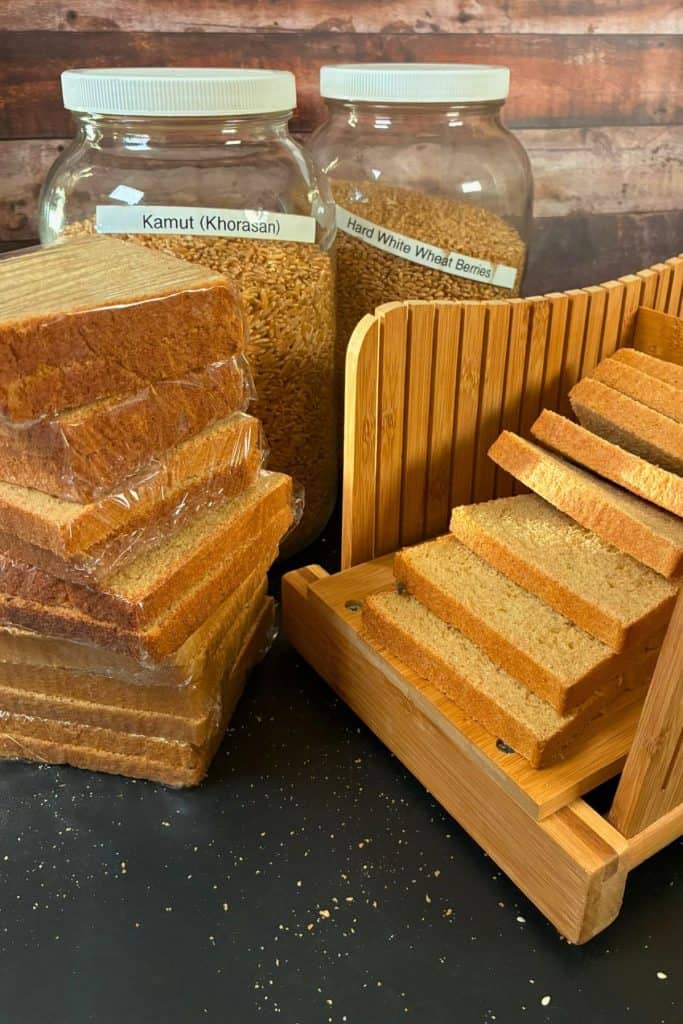
Choosing the Best Wheat for Sandwich Bread
In the last few years, gluten has gotten a bad rap, but when it comes to breadmaking, gluten matters. Gluten is the protein found in wheat. When mixed with water, gluten is what makes the dough stretch, allows it to rise, and gives the bread its texture and structure. Whole grains that are higher in gluten have a higher level of protein.
Hard wheat is higher in protein than other types of wheat, about 10 to 14%. Since it naturally has a higher gluten level, it’s the best choice for breadmaking. Hard wheat comes in two forms, hard red wheat and hard white wheat. Hard white wheat has a milder flavor, while hard red wheat has a bold, rustic flavor.
Hard red wheat has a slightly higher protein content (12 to 15%), but its bold flavor may be too much for those transitioning from store-bought bread. We prefer hard white wheat for its milder flavor.
Does It Matter?
Hard wheat also comes in winter wheat and spring wheat. While Spring wheat does have a higher amount of protein than winter wheat, I personally don’t shop for grains based on this distinction. Both will produce beautiful bread!
What About Ancient Grains?
Ancient grains are grains that have been unchanged by modern farming practices. Of all the ancient grains, Einkorn has the highest protein level. While einkorn is high in protein, it is a different type of protein. Many people who experience gluten sensitivities find that they can eat einkorn without the digestive upset.
My favorite ancient grain for bread making is Khorasan, also known as Kamut. This grain has a rich, buttery flavor that makes my bread oh, so good! While you can make bread with 100% ancient grains, they cost more than modern wheat and have a slightly lower protein level. I find the best result by mixing them.
I have mixed them as high as a 50/50 ratio, but find that I get the flavor benefits with a 30% mix. This saves me money while letting me enjoy the rich flavor of ancient grains.
Are you overwhelmed as you try to research baking with fresh-milled flour?
Let me help!
Get our FREE Fresh-Milled
Flour Quick Start Guide
When you join our newsletter
Techniques to Make the Softest Bread
One of the most surprising things about baking with fresh-milled flour is how different it is compared to conventional all-purpose flour. Having baked for decades, I was unprepared for how challenging it would be! It truly is a different animal!
When it comes to ultra-soft homemade sandwich bread, I use two breadmaking techniques that make all the difference.
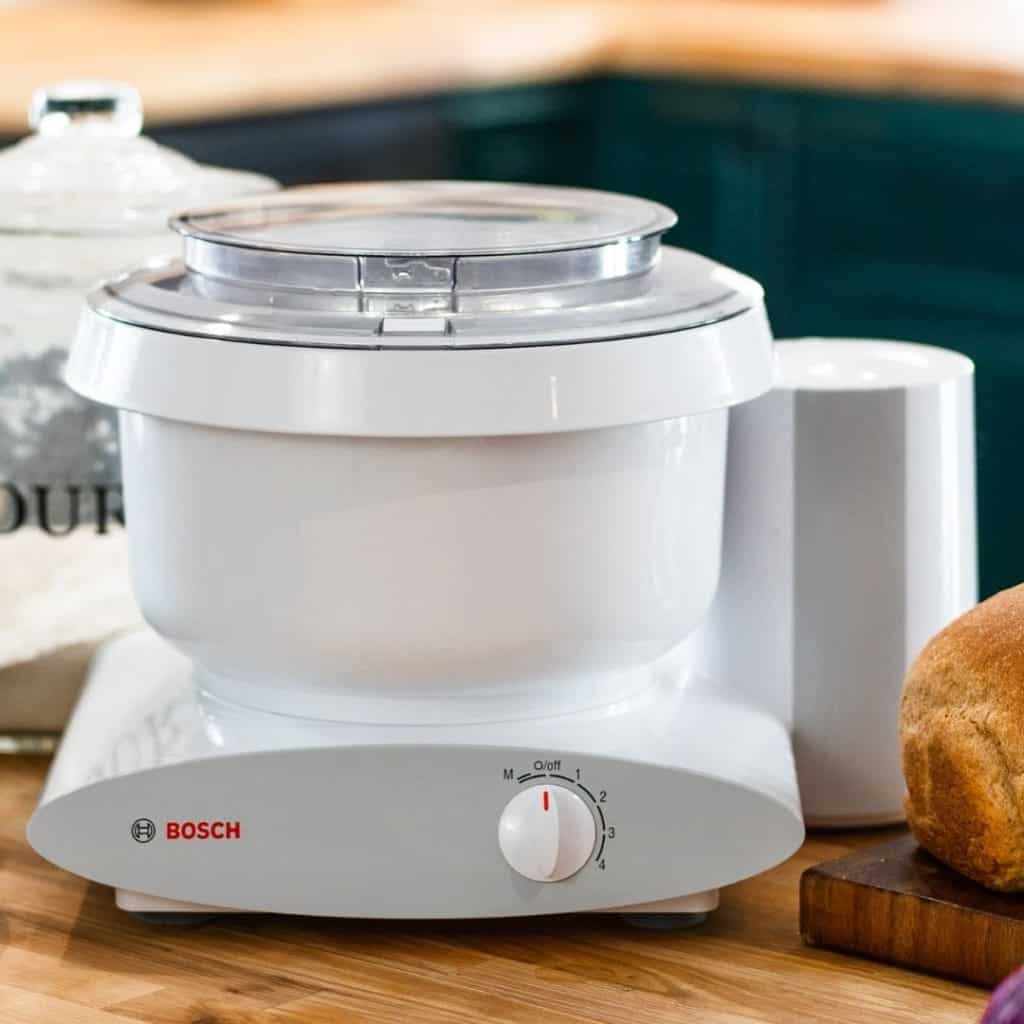
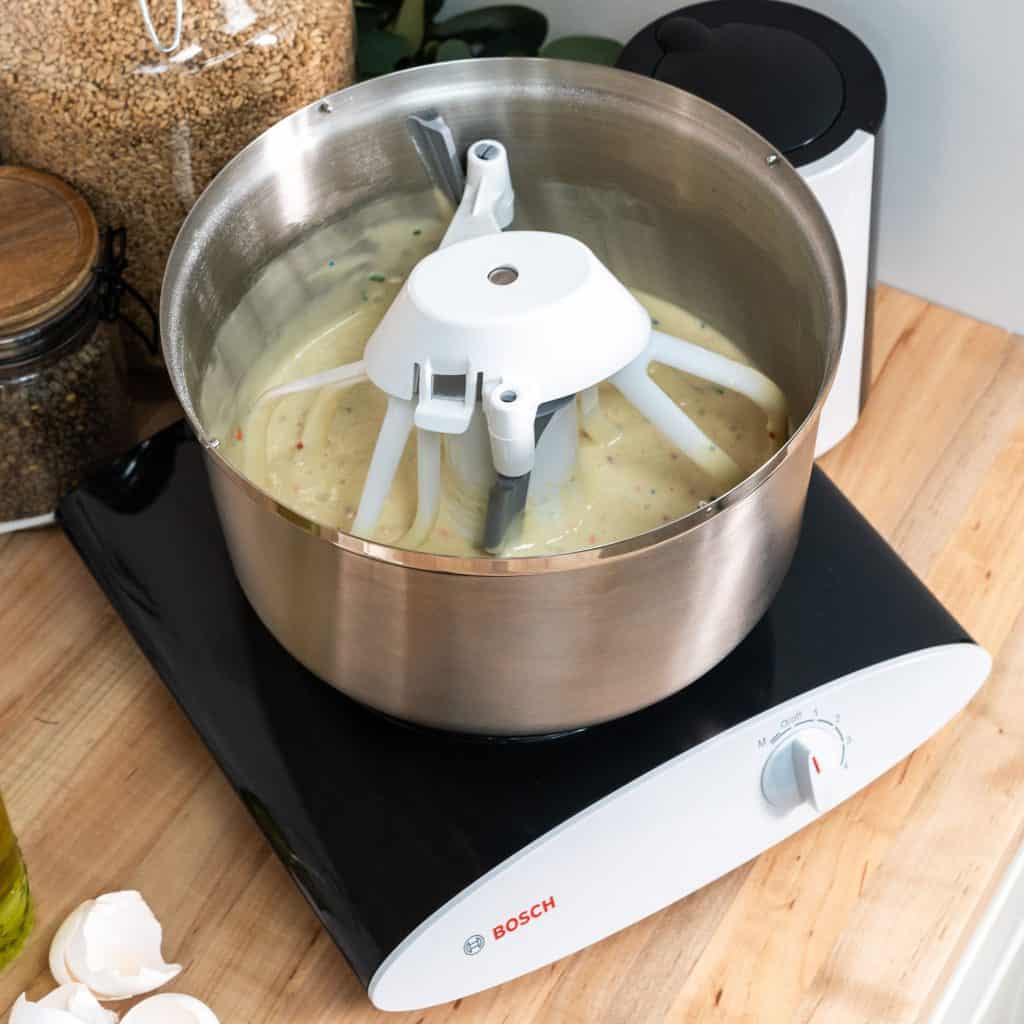
Looking for the Perfect Mixer? Shop Here!
As a small business, your purchase makes a difference for our family! Thank you!
Current Sale:
FATHER’S DAY SALE
Now until June 22.2026
Choose a Mixer Get a FREE Bundle
Artiste + Baker’s Bundle Save $125
Artiste + Sourdough Bundle Save $175
Bosch Universal Plus Mixer + Baker’s Bundle Save $125
Bosch Universal Plus Mixer + Sourdough Bundle Save $125
BOsch Universal Plus Mixer + Blender Bundle Save $90
Tangzhong Method
The tangzhong method was made popular by Yvonne Chen in the early 2000’s. This method is a complete game-changer when it comes to making soft, sandwich bread! Best of all, it’s so simple!
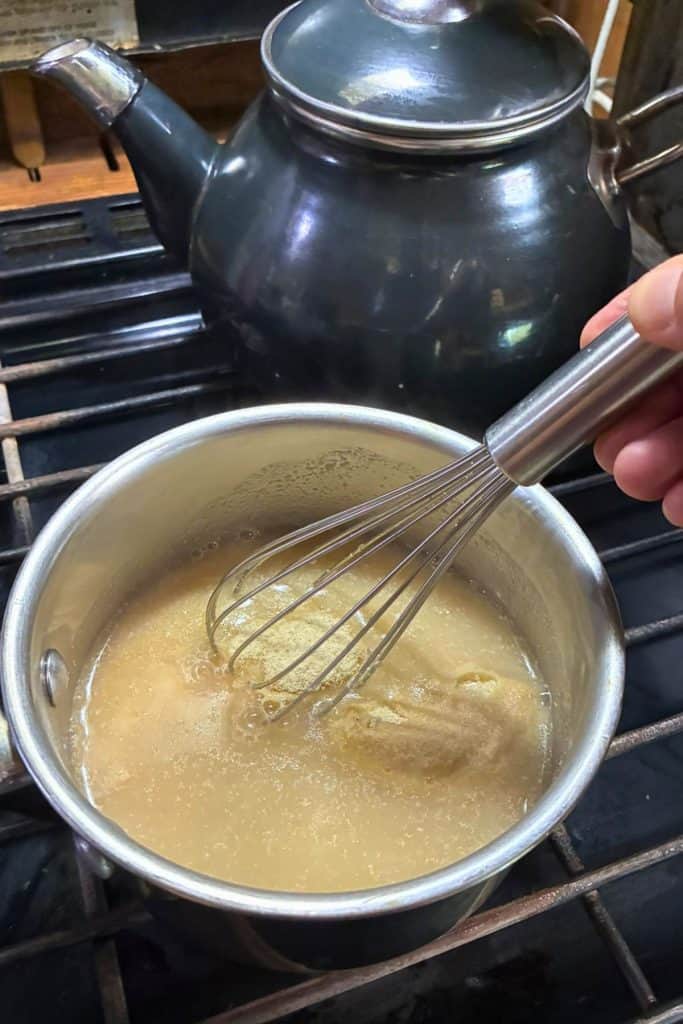
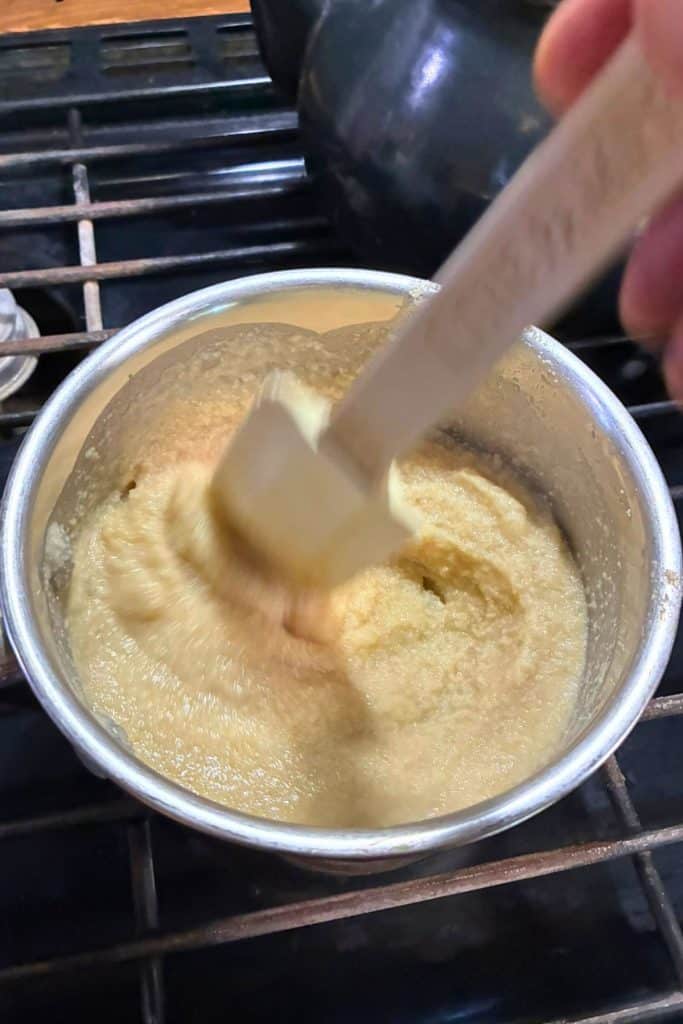
In this recipe, I use one cup of the total water and 1/2 a cup of the total flour, poured into a small saucepan. Whisk the mixture together and cook on medium heat. As the mixture cooks, it will thicken into a paste. Once it’s very thick, turn off the heat and allow the mixture to cool slightly. Once cooled, add to the remaining liquid in the bread recipe and continue as usual.
 Add 1 cup of water and 1/2 cup of flour, whisk together.
- Cook on medium-high heat, stirring frequently,
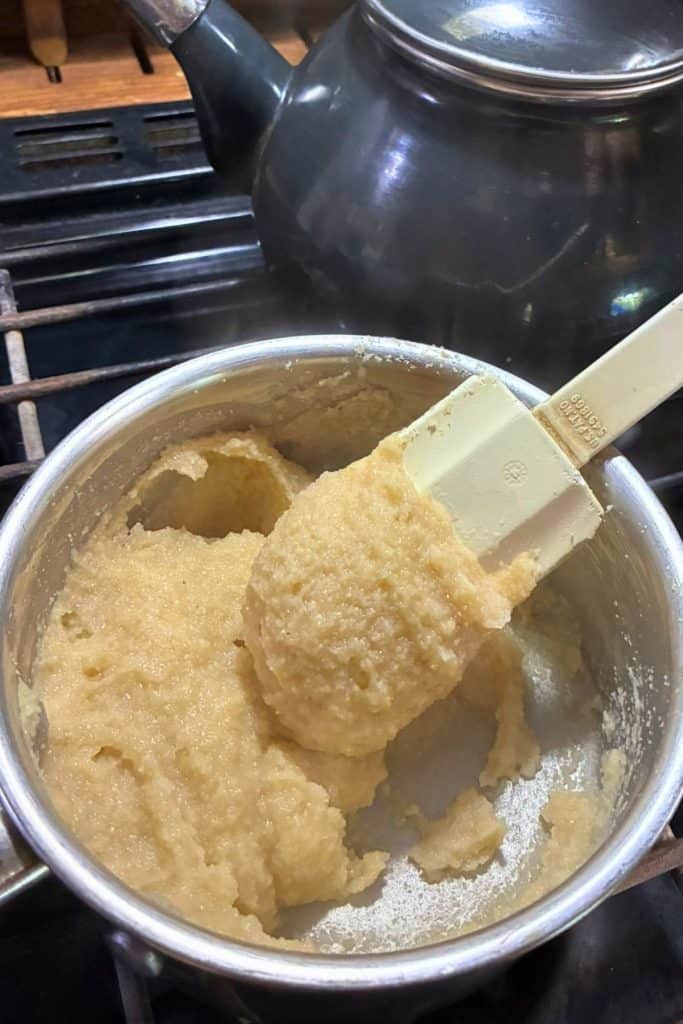
- Cook until the tangzhong becomes a thick paste, and cool slightly.
How Does It Work?
Cooking the flour into a paste allows you to enhance the bread’s texture and moisture retention. It gives gluten development a kick start, which results in softer bread. Keep in mind, this is a method, not a specific recipe. You can apply this method to other yeast bread recipes!
Autolyse
Homemade bread made with fresh-milled flour contains all parts of the wheat. The hard outer coating of the bran takes time to soften. Allowing the dough to rest before kneading allows the flour to fully absorb the moisture. Bran that is softened won’t cut into the dough, disrupting the development of gluten.
You can autolyse for as short or as long as you like. You can do a minimum of 30 minutes or overnight. I like to allow my dough to autolyse for 2 hours. If my schedule is tight, I prefer an overnight autolyse rather than rush it.
Tips for Overnight Autolyse
Mix together everything but the yeast and eggs. Dough can autolyse on the counter overnight. In the morning, add eggs and yeast, mix well and continue to the kneading step.
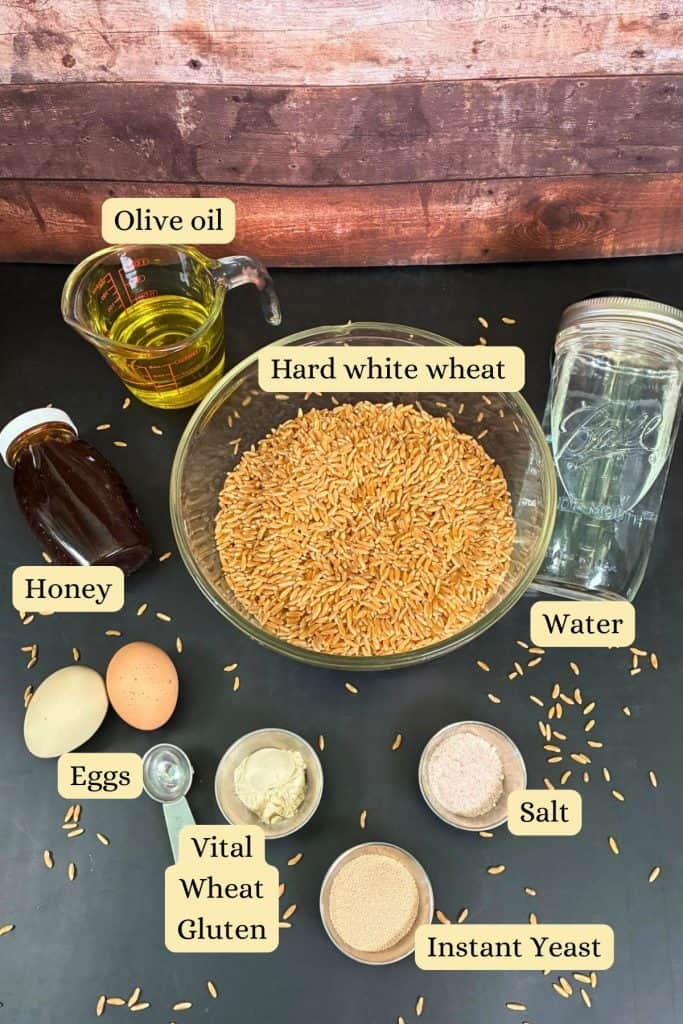
Ingredients for Whole Wheat Bread Using Fresh Milled Flour
How to Make Sandwich Bread with Fresh Milled Flour
Baking bread takes time! The best way to bake bread on a regular basis is to learn how to incorporate it into your day. Most steps don’t require you to hover. Simple steps that take just a few minutes. Set a timer to return for the next step.
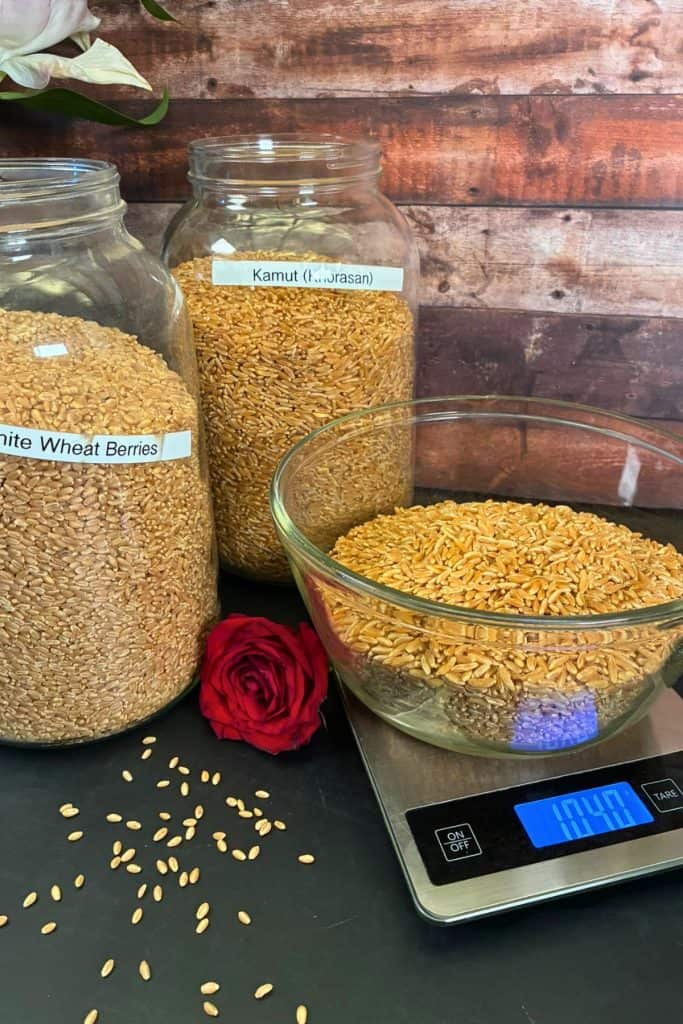
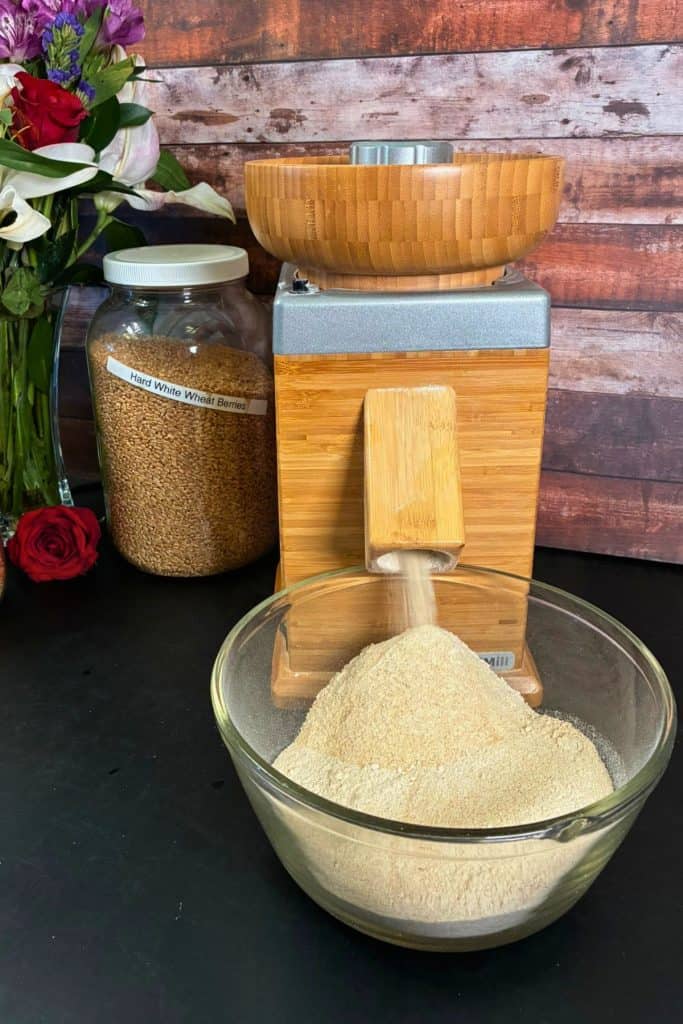
Step 1: Mill the Wheat
First, measure your desired whole grains on a scale. A cup of whole grains does not equal a cup of fresh milled flour. However, 1040 grams of whole wheat berries does equal 1040 grams of flour. I have been working hard to get this measurement as close as possible.
I mill my wheat on the finest setting, though many bread makers feel that flour milled a little less fine makes better bread. If your flour doesn’t look ultra fine like store-bought flour, don’t worry; you aren’t looking for store-bought results, you’re looking for better!
Step 2: Prepare the Tangzhong
The tangzhong step is optional, but let me encourage you, don’t skip it! This step is a game-changer! If you have been struggling to make soft bread, this method will make the difference. I’ll never go back!
Measure one cup of water from the recipe total and add to a small saucepan. Measure 1/2 cup of your freshly milled flour and whisk it into the water. On medium-high heat, stir on occasion until the mixture begins to thicken. This will only take a few minutes, 8-10 minutes at most. As it thickens, stir until it’s a thick paste. Once thickened, set aside to cool slightly.
- Add tangzhong to remaining hot water, stir tp break up clumps.
- Add remaining ingredients except yeast and stir.
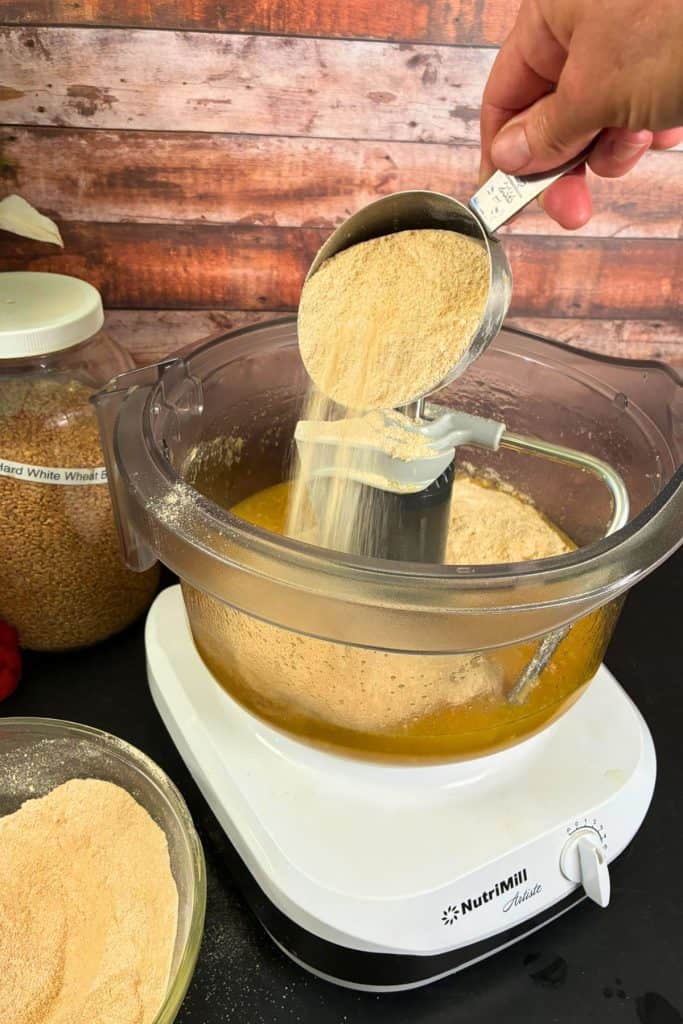
- Add remaining flour.
What’s Vital Wheat Gluten?
Vital wheat gluten is a natural product made by dehydrating gluten from the endosperm of the wheat berry. It’s high in protein, typically 75 to 90%.
This added gluten strengthens your bread creating a better rise.
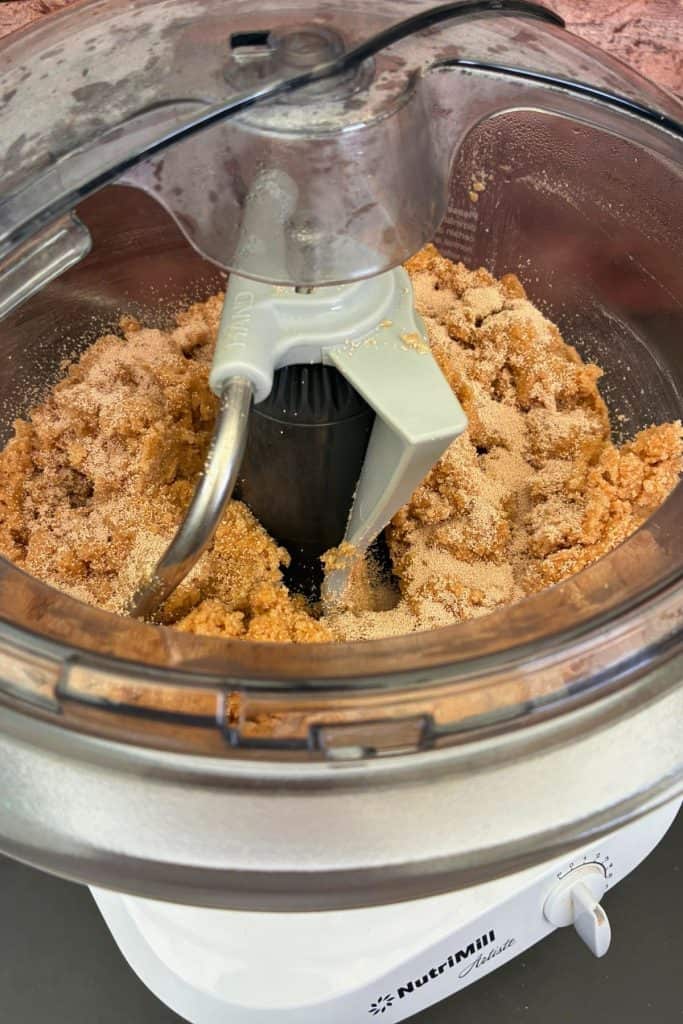
Step 3: Mix the Dough
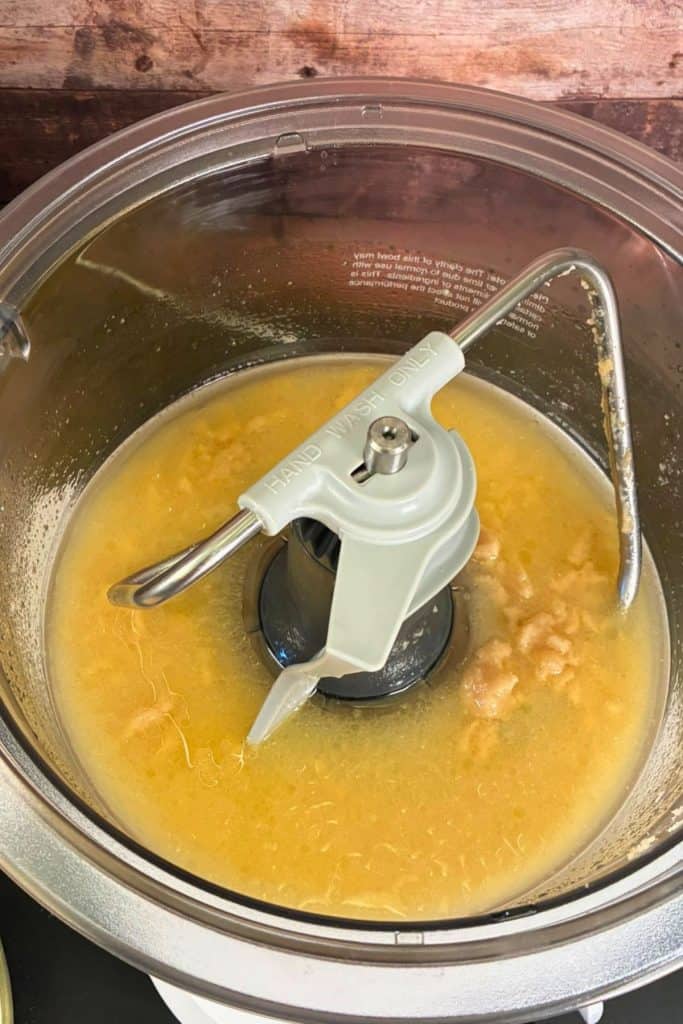
Add the remaining 1 1/4 cups of water to the bowl of a stand mixer. (If you skipped the tangzhong method, add 2 1/4 cups). Once the tangzhong has cooled slightly, add it to the water. Use your whisk to whisk it into the water. It will remain clumpy. But stir it to break it up.
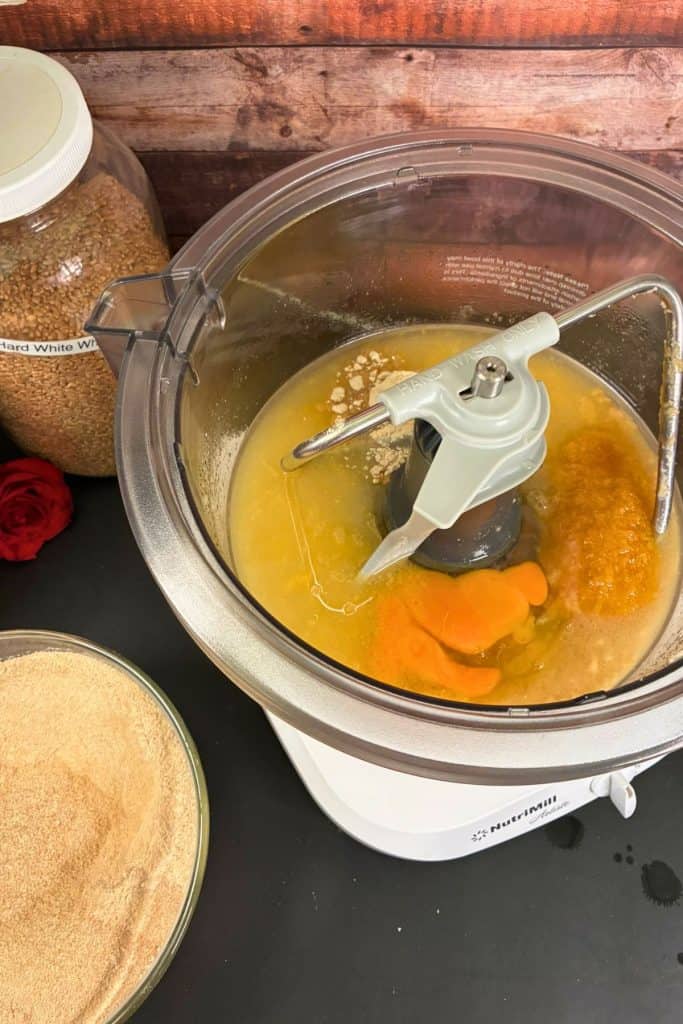
Add 1/2 cup olive oil, 1/2 cup honey, 3 teaspoons salt, 2 teaspoons vital wheat gluten, and 2 eggs. Turn your mixer to low speed and mix gently until the eggs disperse evenly.
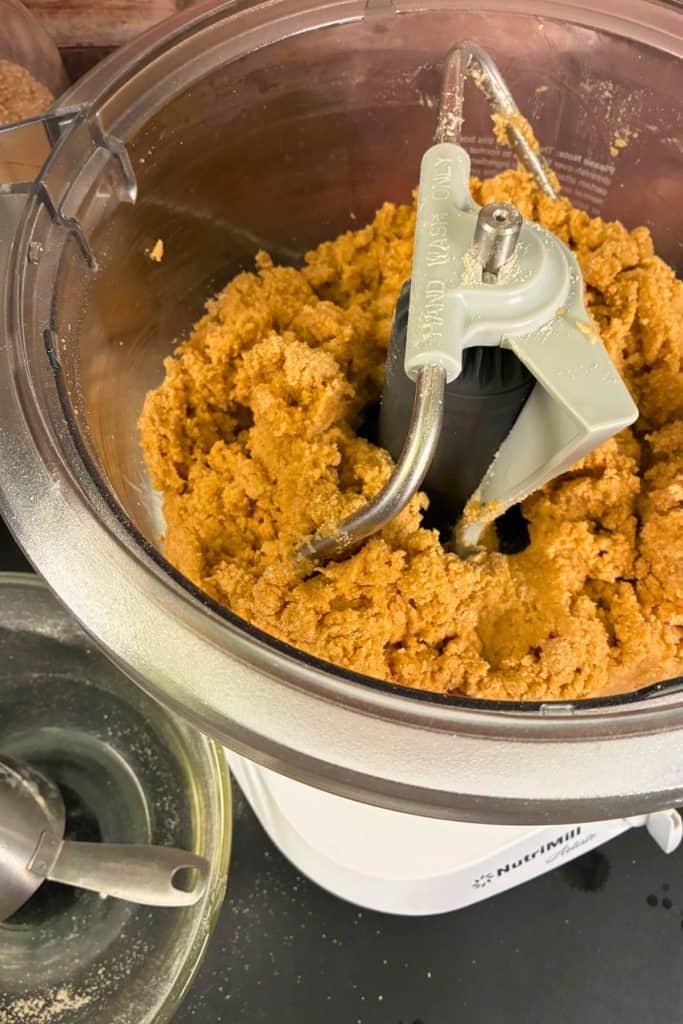
Finally, add the fresh milled whole wheat flour and mix at low speed until you make a shaggy dough (you are not kneading the dough at this time). Turn off the mixer.
Step 4: Autolyse the Dough
Once you have mixed all the ingredients into a shaggy dough except the yeast, it’s time to allow the dough to rest. Some people autolyse just the flour and water, but I have found great success mixing the dough in its entirety, except for the yeast. The only exception to this is on an overnight autolyse, I wait to add the eggs as well.
Autolyse at room temperature for at least 30 minutes. I prefer a 2-hour autolyse. If it is cool in the room, I wrap my mixer bowl in a towel to maintain the warmth of the dough.
- Mix to create a shaggy dough.
- Cover to maintain warmth during autolyse.

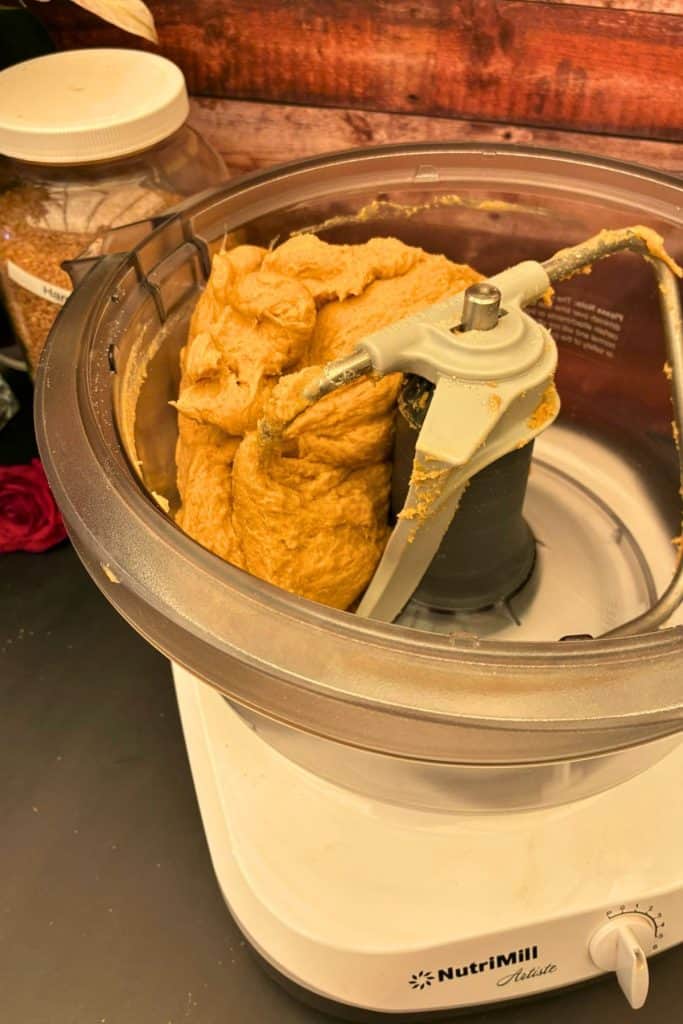
Step 5: Add Yeast and Knead the Dough
Once the autolyse is complete, add 1 1/2 tablespoons of instant yeast directly to the top of the dough. (Don’t forget the yeast, I’ve done it!) There is no need to bloom instant yeast in water.
If you only have active dry yeast, you can reserve a small amount of water to dissolve the yeast in before adding it to the dough.
If using a mixer, use the dough hook attachment for kneading. Slowly mix the dough until the yeast is incorporated, and then begin kneading the dough. Please note: If your mixer has a cover, leave the cover open during the kneading process.
The speed and length of time that you knead your dough will depend on your mixer. Typically, speed 2 is the best speed to knead bread dough. I typically run the mixer for about 10 minutes.
Look for signs of the dough being ready. Is it soft and elastic? Is it pulling away from the sides of the bowl? The easiest test is to poke the dough with your finger; if it bounces back, it’s ready.
- Add yeast to top of dough.
- Begin kneading, be sure to leave cover open.
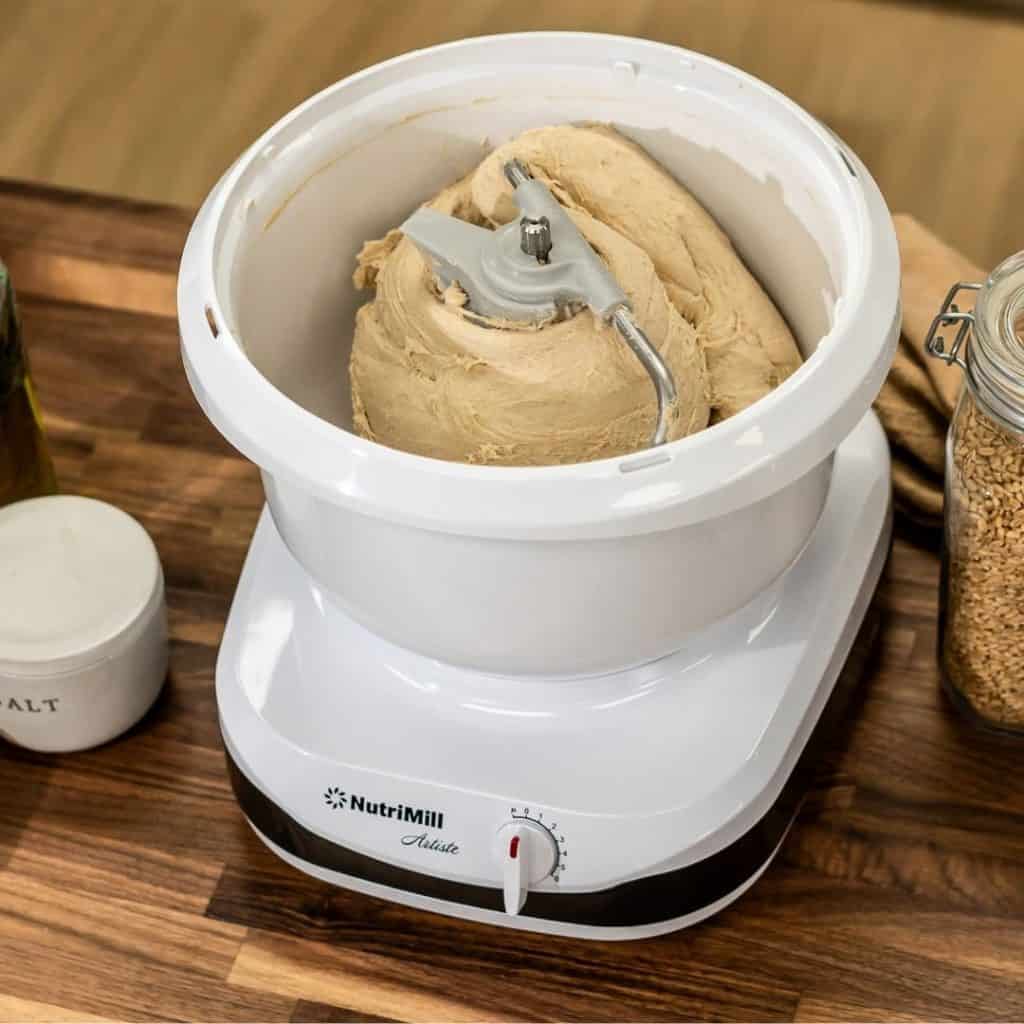
- Knead until dough is soft and elastic.

FAQ: Kneading Basics
Do I need to reach windowpane?
Personally, I feel that windowpane is a vanity metric. (Yes, I said it!) It’s very popular among fresh-milled bakers to aim for windowpane. It means that the dough stretches without breaking significantly enough to see through the dough. Bread dough that is fully kneaded will be soft and will stretch without tearing, but trying to see through it is unnecessary.
My dough is sticky, should I add flour?
This is one of the hardest adjustments for me. As a young baker, baking with all-purpose flour, I always added flour. But with fresh-milled flour, better hydration will create a better crumb. Adding too much flour can lead to dense bread. With this recipe, I may add a couple of teaspoons of flour (no more than a tablespoon) if the dough feels too sticky; however, I find it better to oil your hands to shape your dough if you find your dough is slightly tacky.
Can I over-knead my dough?
YES! This is actually pretty common, especially with stand mixers. Different kinds of mixers have different strength motors. My Bosch Universal Plus Mixer and Artiste Mixer can knead dough in as little as 8 minutes. While other mixers may need 20 minutes or more. If you are learning to make bread, kneading by hand is great practice to learn the feel of the dough. Be prepared to knead for at least 15 minutes.(I rarely make bread by hand, so this recipe has not been tested for kneading by hand.)
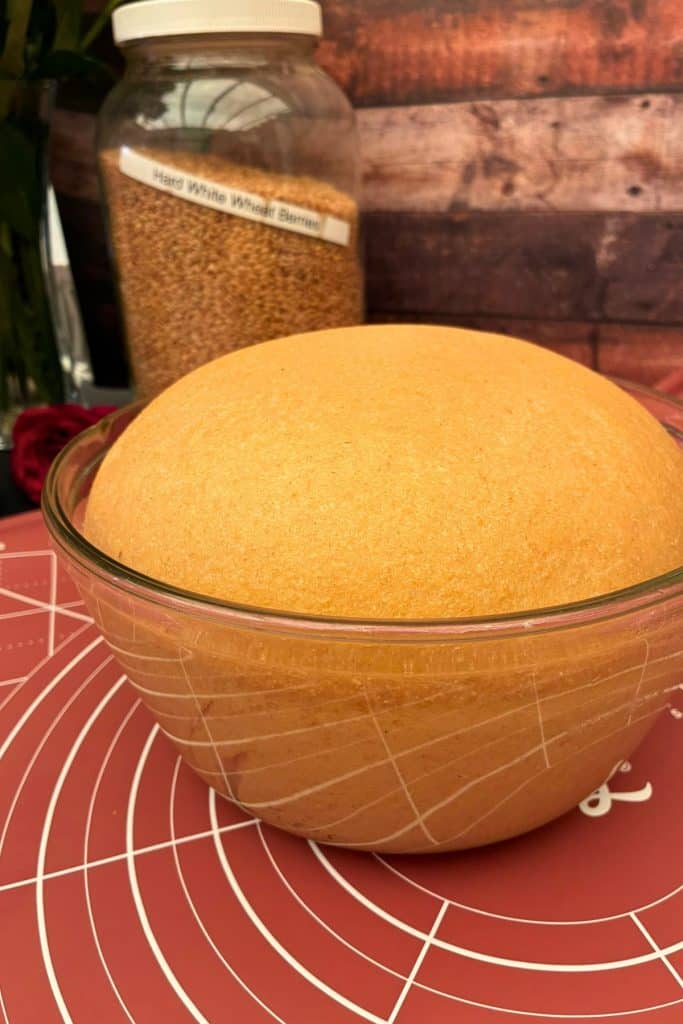
Step 6: First Rise
Once your dough is kneaded, prepare your proofing bowl. Simply oil a large bowl and turn your dough ball to coat the top. Cover with a damp tea towel and allow to rise in a warm place.
Most often, I line a skillet with parchment paper and oil the dough ball. I often proof dough in my oven with the pilot light on. That’s just enough heat to perfectly proof my bread.
Don’t have a gas oven? A heating pad on low or a seed-starting mat can provide extra warmth if your home is cool. Cover the bowl with plastic wrap to keep the dough from drying.
Allow the dough to rise for one hour or until doubled in size.
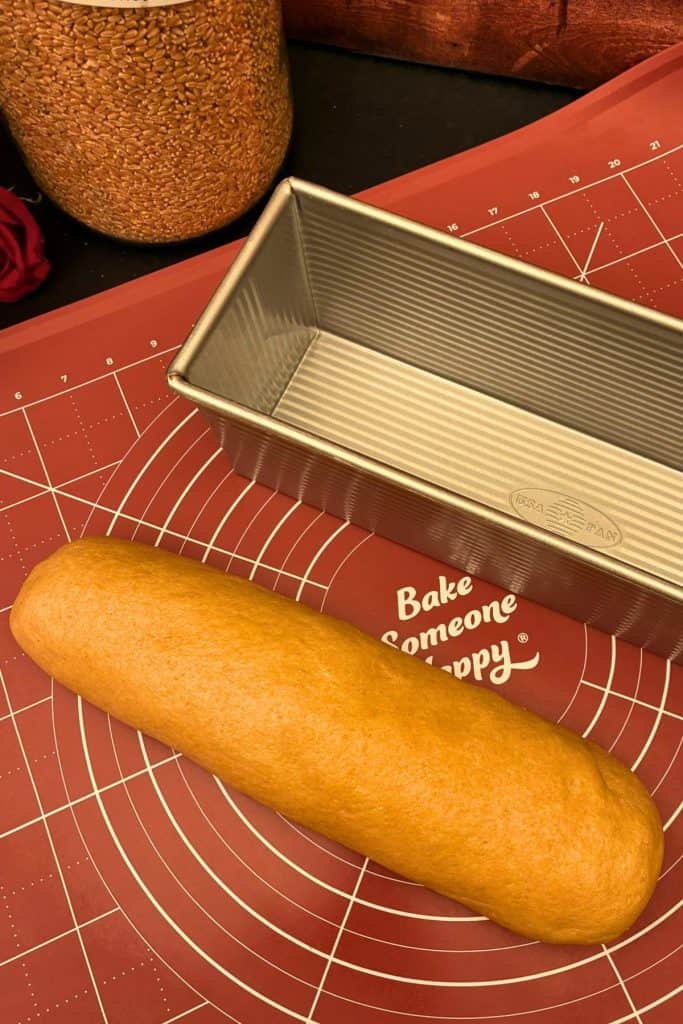
Step 7: Shaping and Second Rise
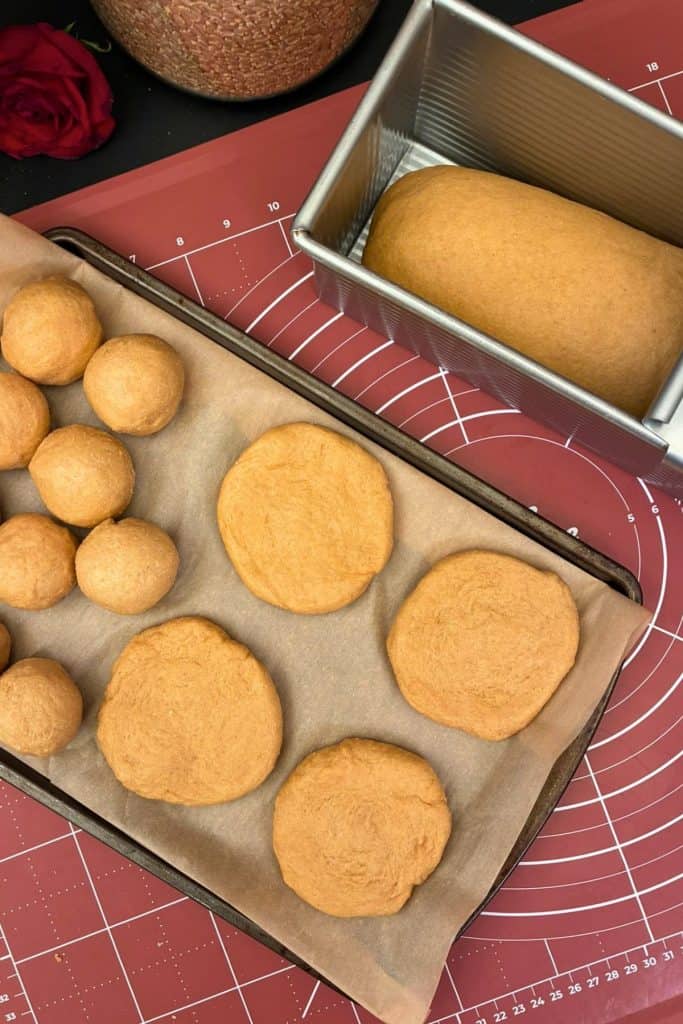
After finishing the first dough rise, punch the dough down. I measure my dough for two reasons. First, measuring my dough ensures portion control when it comes to rolls and buns. Secondly, measuring my dough ensures I don’t overfill my pans.
For sandwich bread, I love using my covered Pullman pan. It makes square bread that is perfect for sandwiches. The best part is no muffin top! While muffin tops are delicious on muffins, they are awkward in a sandwich.
Once the dough is measured, shape it for your desired results. Place in greased pans, seam side down, and allow the dough to rise a second time for 45-60 minutes. Since baking conditions vary, the rise time will vary as well. Aim for dough that has doubled in size.
Shaping Tips
Bread: I am pretty relaxed when it comes to shaping bread. I roll the bread into a loaf shape, tucking the seams of the ends under. Place into a greased pan. Need more instruction? Check this out.
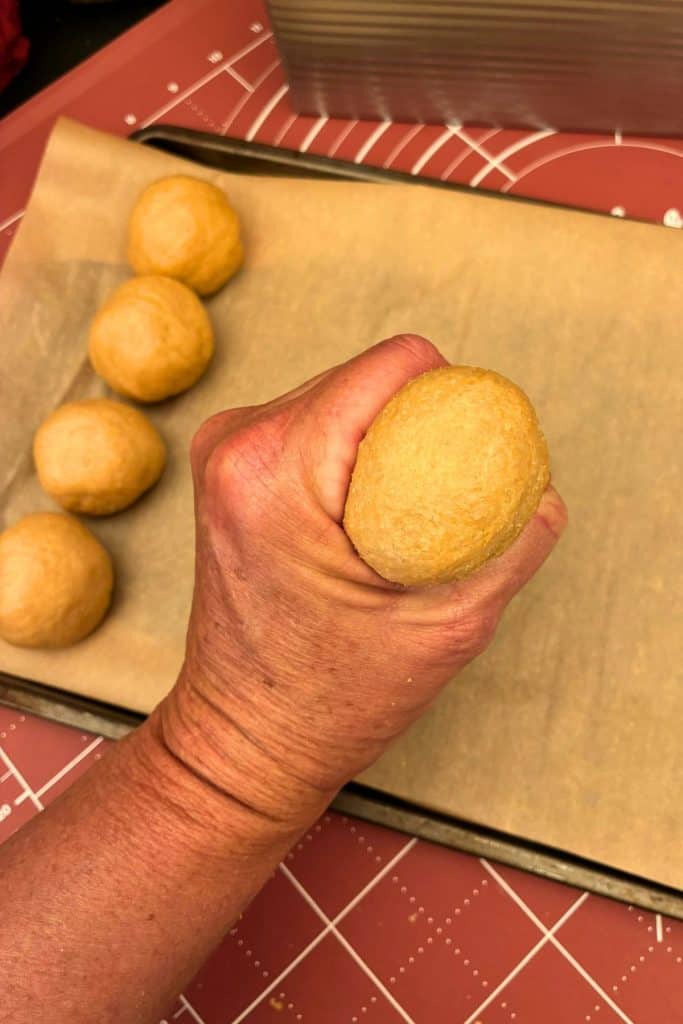
Rolls: I shape the dough into a round ball, pushing it through my thumb and forefinger to create surface tension for the final shape.
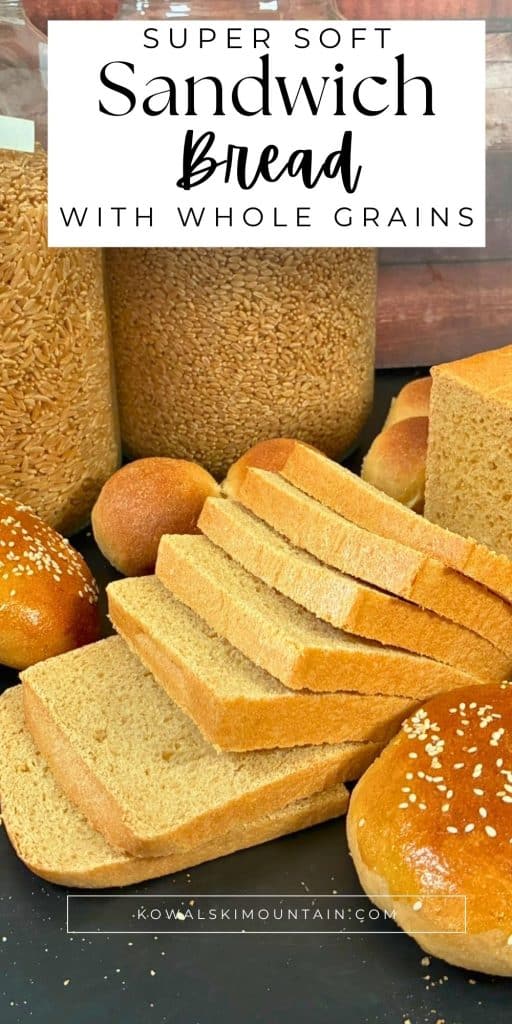
Buns: Shape a bun into a flat shape, slightly smaller than you actually want. As the bun rises, the diameter will increase slightly. I like to egg wash and sprinkle my buns with sesame seeds.
- Shape dough for bread pan.
- Shape buns into a round ball, push through thumb and forefinger to create surface tension.
- 1 loaf of bread: 1000 grams, 10 rolls: 50 grams each, 4 buns: 90 grams each
Step 8: Bake the Bread
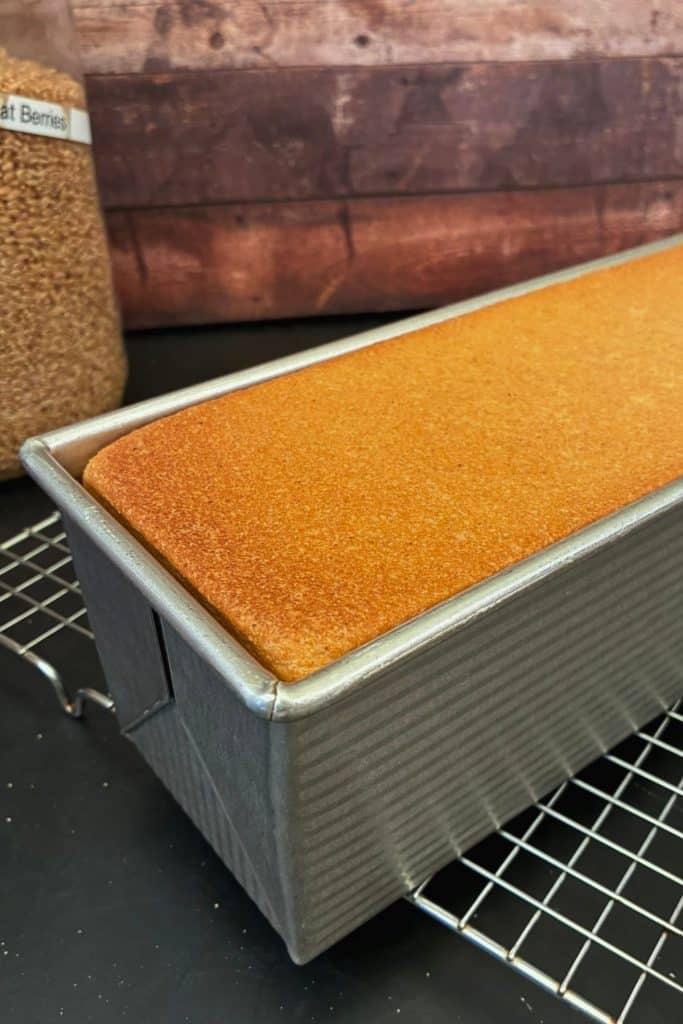
Preheat the oven to 350 degrees F about 10 minutes before the end of your second rise. Bake your bread for 40 minutes, until the internal temperature reaches 190 degrees. While many bread recipes encourage you to cook until golden brown, internal temperature is a better test for doneness.
For rolls and buns, bake 18 minutes. Buns will be slightly underdone, which is perfect for reheating when you serve.
Make Brown & Serve Rolls: Bake rolls for 12 minutes. They will be underdone. Freeze for later use. When ready to use, place frozen rolls on a sheet pan. Bake at 350 degrees until heated through. Perfect homemade rolls anytime!
Once you remove the loaf of bread from the oven, remove it from the pans and cool it completely on a wire rack. You can brush the top crust with melted butter when it’s hot (optional). This slightly softens the crust and gives it a shiny sheen.
Storing Homemade Bread
Once your bread has cooled completely, store it in an airtight container at room temperature for up to 4 days. Since your bread has no preservatives, be sure to properly store it immediately, especially if you can’t consume it quickly.
As empty nesters, I slice my bread and wrap it in two-slice packages to freeze. Remove bread from the freezer early in the day to allow it to defrost, or microwave it for 20 seconds to defrost quickly.
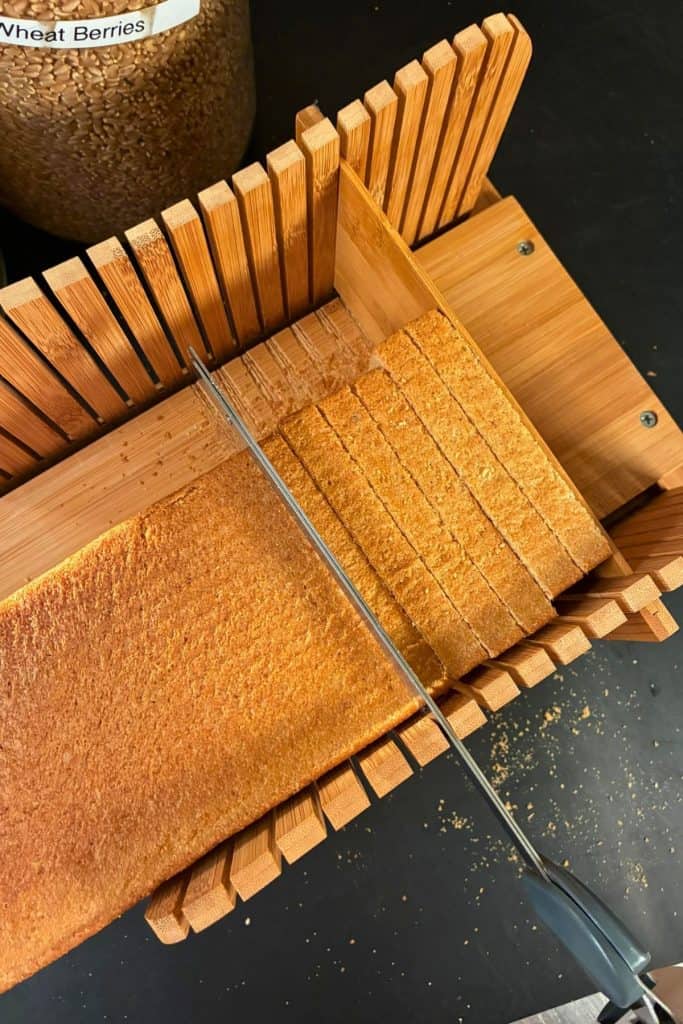
- Slicing with an electric knife makes clean slices.
- Store fresh bread properly.
Learn More
Fresh-Milled Flour
The BEST Sandwich Bread Recipe
It’s taken me a few years to tweak this recipe, but finally, I have developed a super soft sandwich bread recipe that we love.
For the new baker, I know the instructions may seem complicated. But I assure you it’s really not! Bread making takes time. The more you practice, the more you will feel confident in your bread-making skills.
For the experienced baker new to fresh-milled flour, be patient! This really is a new skill that takes time to develop.
Find this post helpful?
Share it on Pinterest
FAQ
Add 2 tablespoons of sunflower lecithin to the water mixture before adding the flour.
Since this recipe is designed with a long autolyse, the water is hot rather than warm to maintain the warmth of the dough longer. If you skip the autolyse, use warm water instead.
A pullman pan is specially designed to create square sandwich bread. The covered pan creates consistently sized pieces that make perfect sandwiches.
I use a slicing guide and an electric knife! The knife makes all the difference!
Get the Recipe!

Sandwich Bread
Ingredients
- 1040 grams hard white wheat I like a mix of 740 grams hard white wheat and 300 grams khorasan
- 2 ¼ cup warm water Use hot water if doing a long autolyse
- ½ cup olive oil
- ½ cup honey
- 3 teaspoon salt
- 2 small eggs
- 2 teaspoons vital wheat gluten optional
- 1 ½ tablespoons. instant yeast
Instructions
Mill the Grains
- Mill 1040 grams of hard white wheat and khorosan on a fine setting.
Prepare the Tangzhong
- Measure one cup of water from the recipe total and add to a small saucepan. Measure 1/2 cup of your freshly milled flour and whisk it into the water.
- On medium-high heat, stir frequently until the mixture begins to thicken. This will only take a few minutes, 8-10 minutes at most. As it thickens, stir until it's a thick paste. Once thickened, set aside to cool slightly.
Mix the Dough
- Add the remaining 1 1/4 cups of water to the bowl of a stand mixer. (If you skipped the tangzhong method, add 2 1/4 cups). Once the tangzhong has cooled slightly, add it to the water. Use your whisk to whisk it into the water. It will remain clumpy. But stir it to break it up.
- Add the oil, honey, salt, eggs, and the optional vital wheat gluten. Mix until combined.
- Add the fresh milled flour and mix at low speed until you create a shaggy dough (you are not kneading the dough at this time). Turn off the mixer when all the flour is mixed in.
- Allow dough to rest for at least 30 minutes to 2 hours to autolyse. This allows the fresh ground flour to absorb the moisture in the recipe creating softer bread.
- After the autolyse is complete, sprinkle 1 ½ tablespoons of yeast over the top and mix well.
- Knead dough. Kneading time will vary based on your mixer. I knead on speed two for 10 minutes.
- Cover the bowl of dough and let rise in a warm place for 1 hour.
- Measure the dough and shape. Place bread into greased bread pans.
- Allow to rise for 45 minutes. Preheat your oven to 350 degrees F or 180 degrees C.
- Bake at 350 degrees for 40 minutes or until the internal temperature reaches 190 degrees F. Rolls and buns bake for 18 minutes.
- Remove bread from pans, allowing them to cool on a wire rack. Brush top with melted butter if desired.
Notes
Nutrition

About the Author: Barbra-Sue Kowalski grew up on a small hobby farm. She was always drawn to farm life, however, she was stuck in an urban life far from her roots. Barbra-Sue was a single mom for 13 years, raising her 3 children on her own. She met Philip in 2018 and they married in 2021. Between the two of them, they have 5 grown children and 7 grandchildren. These empty nesters are following their dreams! As they both turn 50, they are building their off-grid homestead to live the life that they dream about. Learn more about Philip and Barbra-Sue here. Contact them here. To leave a comment on this post, please scroll down.